How to Send Facebook Lead Ads to Benchmark Email (Step-by-Step)
Send Facebook leads to Benchmark Email automatically. Connect your Page, add your Benchmark Email key and test it with LeadsNotify in 5 minutes.
 By Akash Mehra
6 min read
By Akash Mehra
6 min read
Table of contents
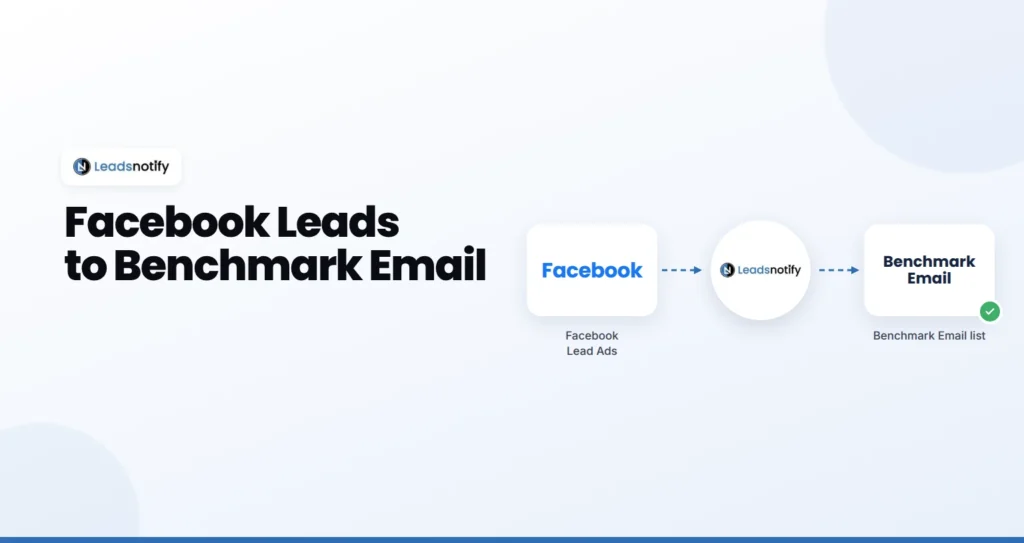
Benchmark Email is an email marketing platform for newsletters, automations and sign-up forms, popular with small businesses and agencies. If you run Facebook Lead Ads, sending every new lead to Benchmark Email automatically saves you downloading files from Leads Center and importing them by hand.
This guide shows you how to send Facebook Lead Ads to Benchmark Email with LeadsNotify: connect your Facebook Page, connect Benchmark Email, choose where leads go, and test it. It takes about five minutes.
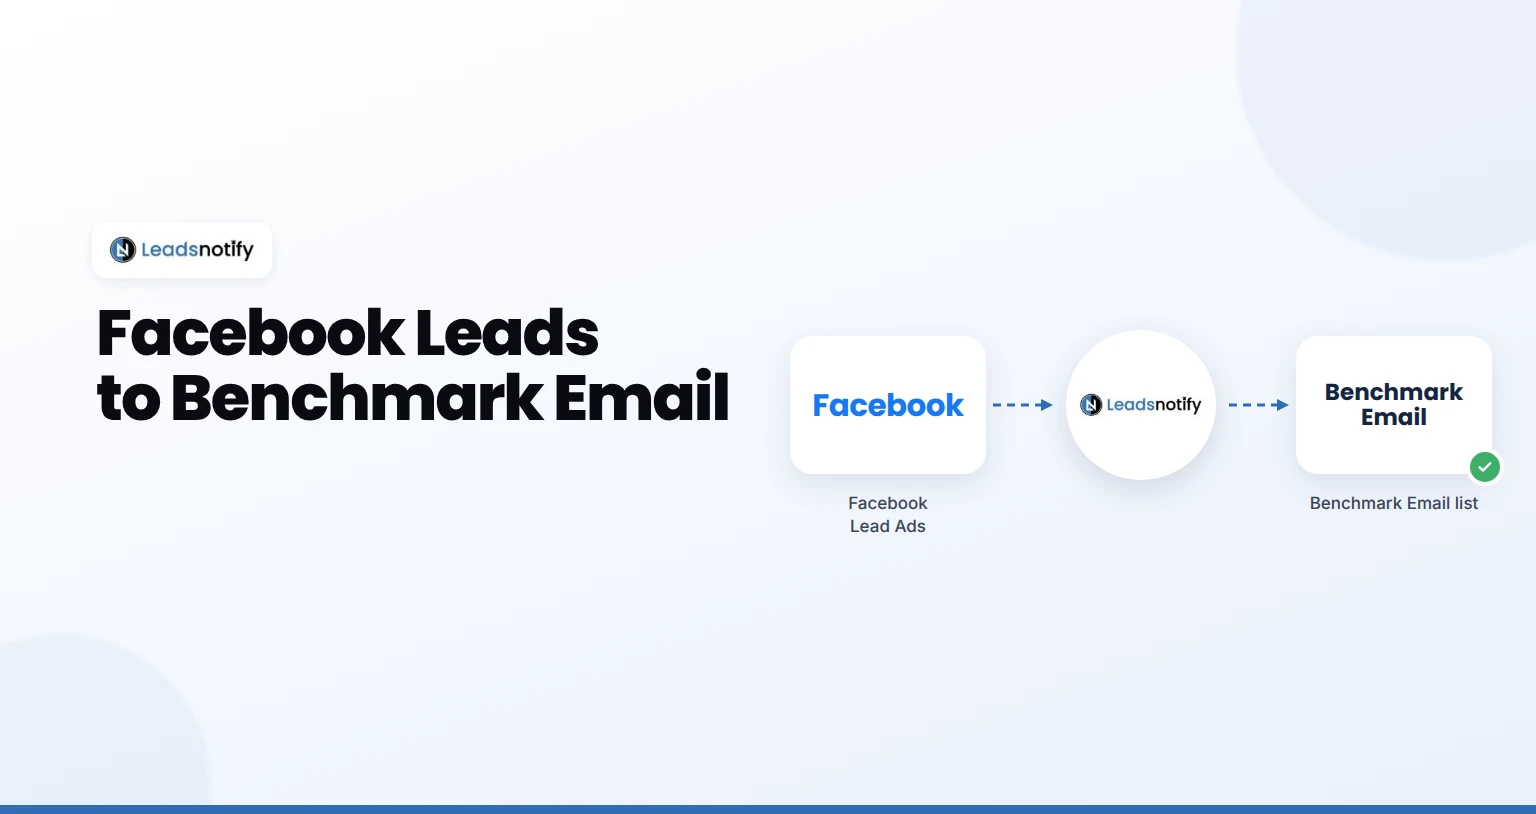
Why Send Facebook Leads to Benchmark Email?
A new lead is most likely to open your first email in the hour after they submit the form. Sending them to a Benchmark list automatically lets your welcome automation reach them in that window.
Facebook keeps leads in Leads Center, but nobody works leads there. The longer a lead waits for an export, the colder it gets.
How to Send Facebook Lead Ads to Benchmark Email (About 5 Minutes)
Before you start, you need: a LeadsNotify account on any plan, free included, admin access to the Facebook Page that runs your instant forms, and your Benchmark Email account and permission to create API keys.
Step 1: Connect Your Facebook Page
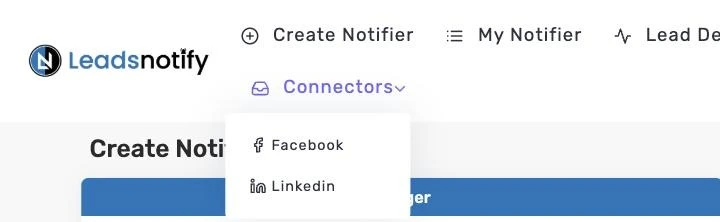
Log in to LeadsNotify. Open Connectors in the top menu and choose Facebook. Click Connect To Facebook, tick the Pages that own your lead forms, and approve the permissions Facebook asks for.
Every Page you ticked shows as CONNECTED. Managing a client’s Page? The client has to give your business admin access and leads access first, otherwise the Page won’t appear in the Facebook popup. Already connected your Page for another notifier? Skip to step 2.
Step 2: Create a Benchmark Email Notifier
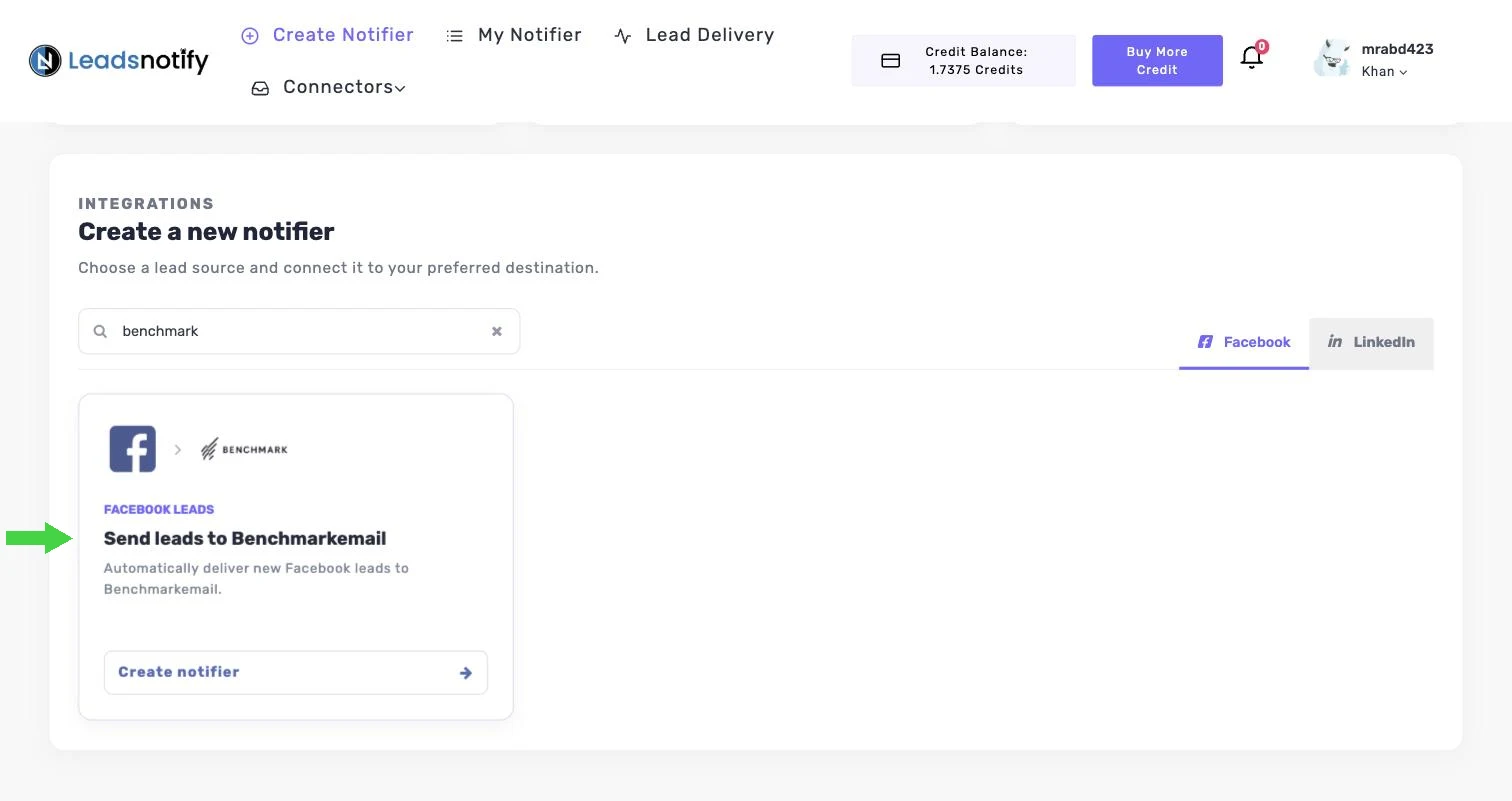
Go back to the dashboard. Under Create a new notifier, make sure the Facebook tab is selected, type “benchmark” in the search box, find Send leads to Benchmark Email and click Create notifier.
Step 3: Pick Your Page and Instant Forms
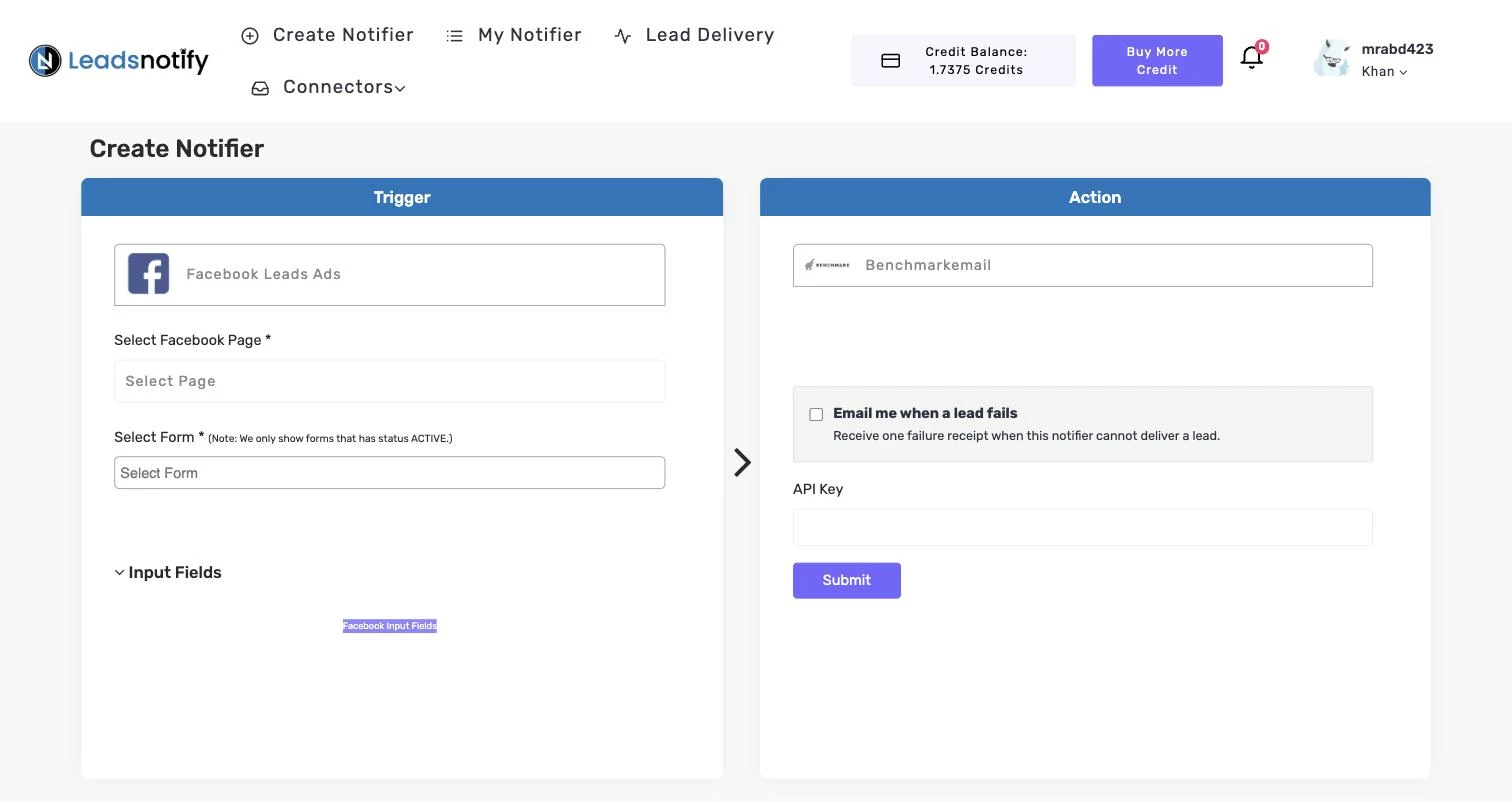
The Create Notifier screen has two sides. The Trigger on the left is where leads come from. The Action on the right is where they go.
In the Trigger panel, choose your Page under Select Facebook Page, then pick one or more forms under Select Form. LeadsNotify lists the fields on those forms under Input Fields.
Only active forms are shown. Facebook doesn’t let you edit a published instant form, so if you changed a question you duplicated the form. Pick the copy your ad is actually running. New to lead forms? Here’s how to set up a Facebook instant form.
Step 4: Connect Benchmark Email
The Action panel asks for your Benchmark Email API Key. These let LeadsNotify add leads to your Benchmark Email account.
Where to find your Benchmark Email API Key
- Log in to Benchmark Email.
- Click your username in the top right, then Integrations.
- In the left menu, click API Key.
- Copy the key shown.
Treat the API key like a password. Anyone who has it can access your Benchmark account.
Paste the value into LeadsNotify and click Submit.
Step 5: Choose Where Leads Go, Then Submit
After you click Submit, LeadsNotify connects to Benchmark Email and shows the lists in your account. Choose the list new leads should join, then match the lead form fields to the Benchmark fields.
Tick Email me when a lead fails so you hear about it if a lead can’t be delivered, then click Submit. Your notifier appears under My Notifier, and the green switch means it’s live.
Step 6: Send a Test Lead and Check Lead Delivery
After you submit the notifier, LeadsNotify offers to send a test lead through it. You can also do this later: open My Notifier, click Edit on the notifier, then click TEST NOTIFIER.
Open Contacts in Benchmark Email, open the list you chose and look for the test lead. If the test lead is there with the right details, the notifier is working.
Want to test with a real form submission from Facebook? Use Meta’s Lead Ads Testing Tool, pick your Page and form, and submit a test lead. Use a real email address you own, because some tools reject placeholder addresses.
Then open Lead Delivery in LeadsNotify. Every attempt is listed with the Page, the form, the destination and a status of Delivered or Failed, and the Response column shows the exact reply from Benchmark Email. Our guide to the lead delivery status dashboard walks through every column.

Tips for Getting More From Facebook Leads in Benchmark Email
- Create a dedicated list per campaign or offer so each one can have its own automation.
- Use a Benchmark automation triggered by joining the list to send your welcome email.
- Keep the list confirmation settings in mind: if double opt-in is on, the contact must confirm first.
Troubleshooting the Facebook Lead Ads to Benchmark Email Integration
Start with the Response column in Lead Delivery. It shows the exact reason Benchmark Email gave for a failed lead.
| What you see | Likely cause | Fix |
|---|---|---|
| No leads arriving at all | The Facebook Page shows DISCONNECTED, often after an admin leaves or a role changes | Connectors > Facebook > Connect To Facebook, and tick the Page again |
| Leads stopped after you changed the form | Your ad now runs a duplicated form and the notifier still watches the old one | Edit the notifier in My Notifier and select the new form |
| Your form isn’t in the list | Only active forms are shown | Check the form’s status in Meta, then reopen the notifier |
| The API key is rejected | The key was copied with a space or regenerated since | Copy the key again from Integrations > API Key |
| Leads arrive but get no emails | The automation is not triggered by the list | Check the automation entry trigger in Benchmark |
| A delivery shows Failed | Benchmark Email refused the lead | Open Lead Delivery and read the Response column for the reason |
Frequently Asked Questions
How do I connect Facebook Lead Ads to Benchmark Email?
Use LeadsNotify. Connect your Facebook Page, create a Benchmark Email notifier, pick your instant forms, enter your Benchmark Email API Key, then submit and send a test lead.
Can Facebook leads go to Benchmark Email automatically?
Yes. Once the notifier is switched on, every new lead from the forms you picked is sent to Benchmark Email within seconds, with no CSV downloads.
Do I need to write any code?
No. Everything is set up in the LeadsNotify screens. You only need access to your Facebook Page and to your Benchmark Email account.
Can I send the same lead to Benchmark Email and another tool?
Yes. Create a second notifier on the same form, for example email alerts or Slack. See every Facebook Lead Ads to Benchmark Email option on our integrations page.
What happens if a lead can’t be delivered?
Tick Email me when a lead fails on the notifier and LeadsNotify emails you when Benchmark Email refuses a lead. The Response column in Lead Delivery shows the reason. Here’s more on lead failure email alerts.
Which LeadsNotify plans include it?
Every plan, the free plan included. The free plan covers 150 leads a month and 2 notifiers. Compare the plans.
Start Sending Facebook Leads to Benchmark Email
Connect your Facebook Page, connect Benchmark Email, pick your forms and click Submit. Your next lead lands in Benchmark Email seconds after the form is sent, instead of waiting for a download. Create your free LeadsNotify account and set up your Benchmark Email notifier today.
Last Updated on September 25, 2026 by Akash Mehra
Set up a free notification in a few minutes.