How to Connect Facebook Lead Ads to AWeber
AWeber is an email marketing platform that helps businesses manage subscribers, create email campaigns, and automate communication with their audiences. If you're collecting leads through Facebook Lead Ads, connecting Facebook to AWeber can help you send new leads to your email marketing…

Table of contents
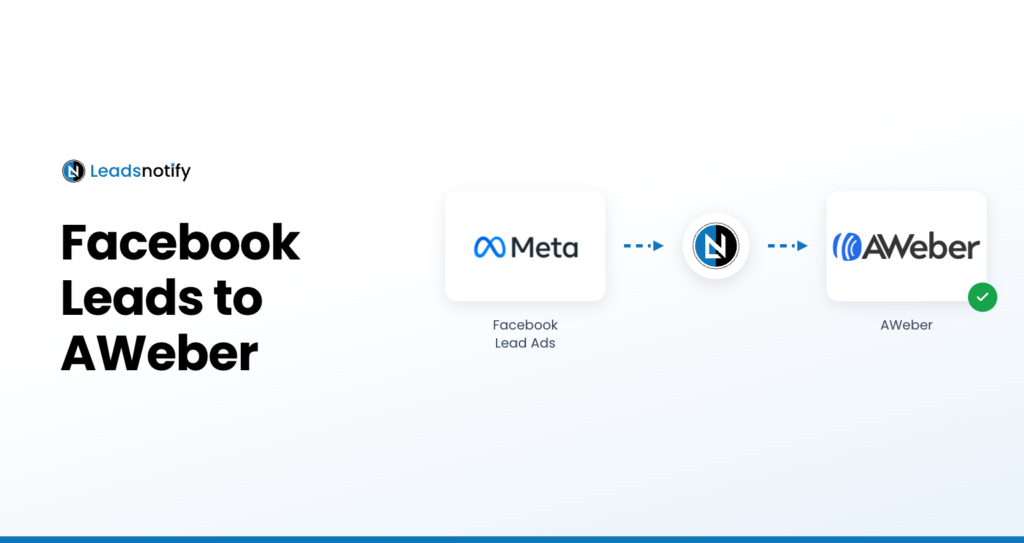
AWeber is an email marketing platform that helps businesses manage subscribers, create email campaigns, and automate communication with their audiences. If you’re collecting leads through Facebook Lead Ads, connecting Facebook to AWeber can help you send new leads to your email marketing system without manually transferring contact information.
In this guide, we’ll show you how to connect Facebook Lead Ads to AWeber using Leadsnotify. You’ll learn how to connect Facebook, authorize your AWeber account, map your lead form fields, create the notifier, and test the Facebook Lead Ads AWeber integration.
How to Connect Facebook Lead Ads to AWeber
The setup only takes a few steps. You’ll connect your Facebook account with Leadsnotify, select the AWeber integration, authorize your AWeber account, map your Facebook lead form fields, and create the notifier.
Step 1: Sign Up or Log In to Leadsnotify
First, sign up for Leadsnotify. If you already have an account, simply log in and open your dashboard.
Step 2: Connect Your Facebook Account
Connect the Facebook account that contains the Page and Lead Ads forms you want to use with AWeber.
If you need help connecting your Facebook Pages to Leadsnotify, follow our guide: How to connect and configure Facebook Pages with Leadsnotify.
Step 3: Select the AWeber Integration
After logging in, find the AWeber integration in Leadsnotify and click Try Now.
The integration allows you to connect your AWeber account and configure how your Facebook leads should be sent to AWeber.
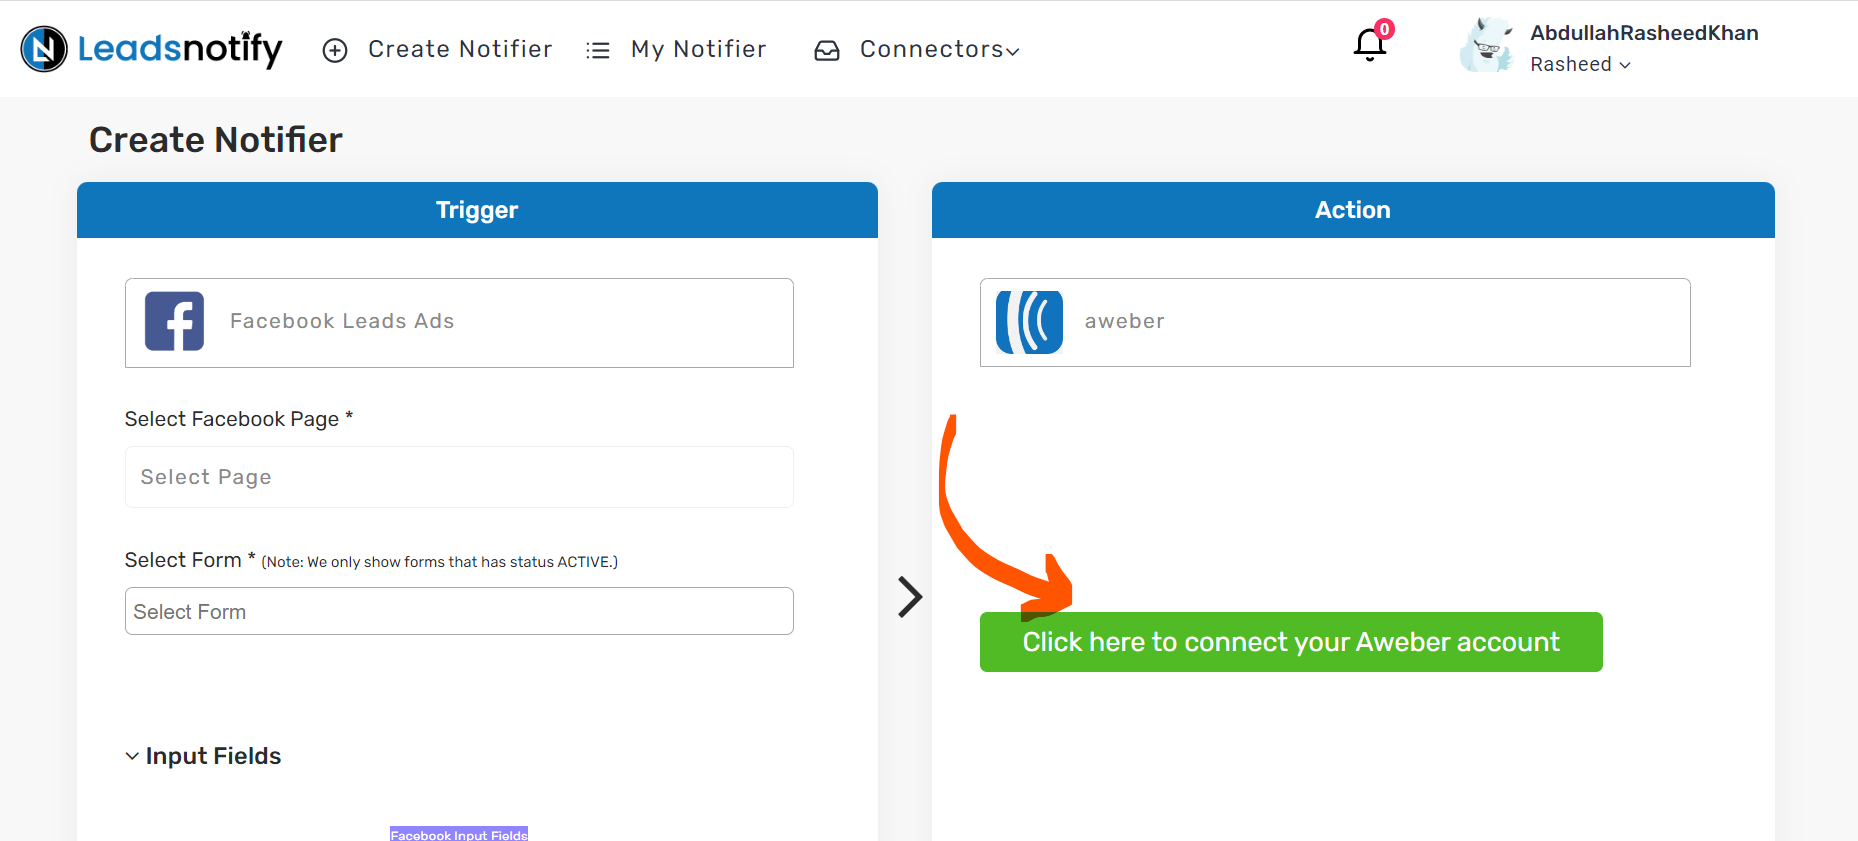
Step 4: Connect and Authorize Your AWeber Account
Click the green Connect button to start connecting your AWeber account with Leadsnotify.
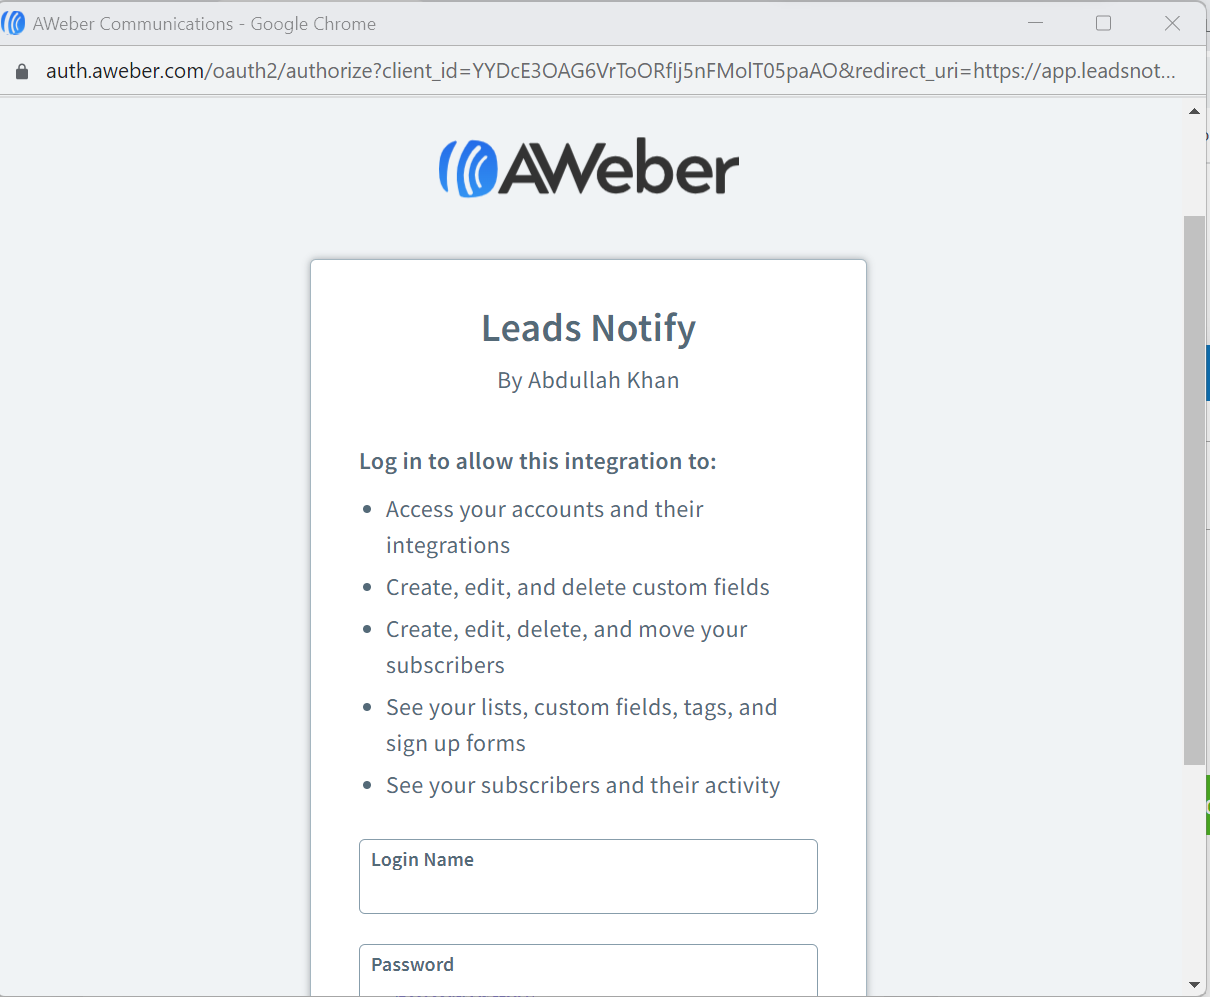
AWeber will ask you to authorize the permissions required to connect your AWeber account with Leadsnotify. Review the requested permissions and allow the connection.
Step 5: Map Facebook Lead Ads Fields to AWeber
After AWeber is connected, Leadsnotify will fetch the available basic and advanced fields from your AWeber account.
You can then map the fields from your Facebook Lead Ads form to the corresponding AWeber fields. This helps ensure that information such as the lead’s name, email address, phone number, and other form responses are sent to the correct fields.
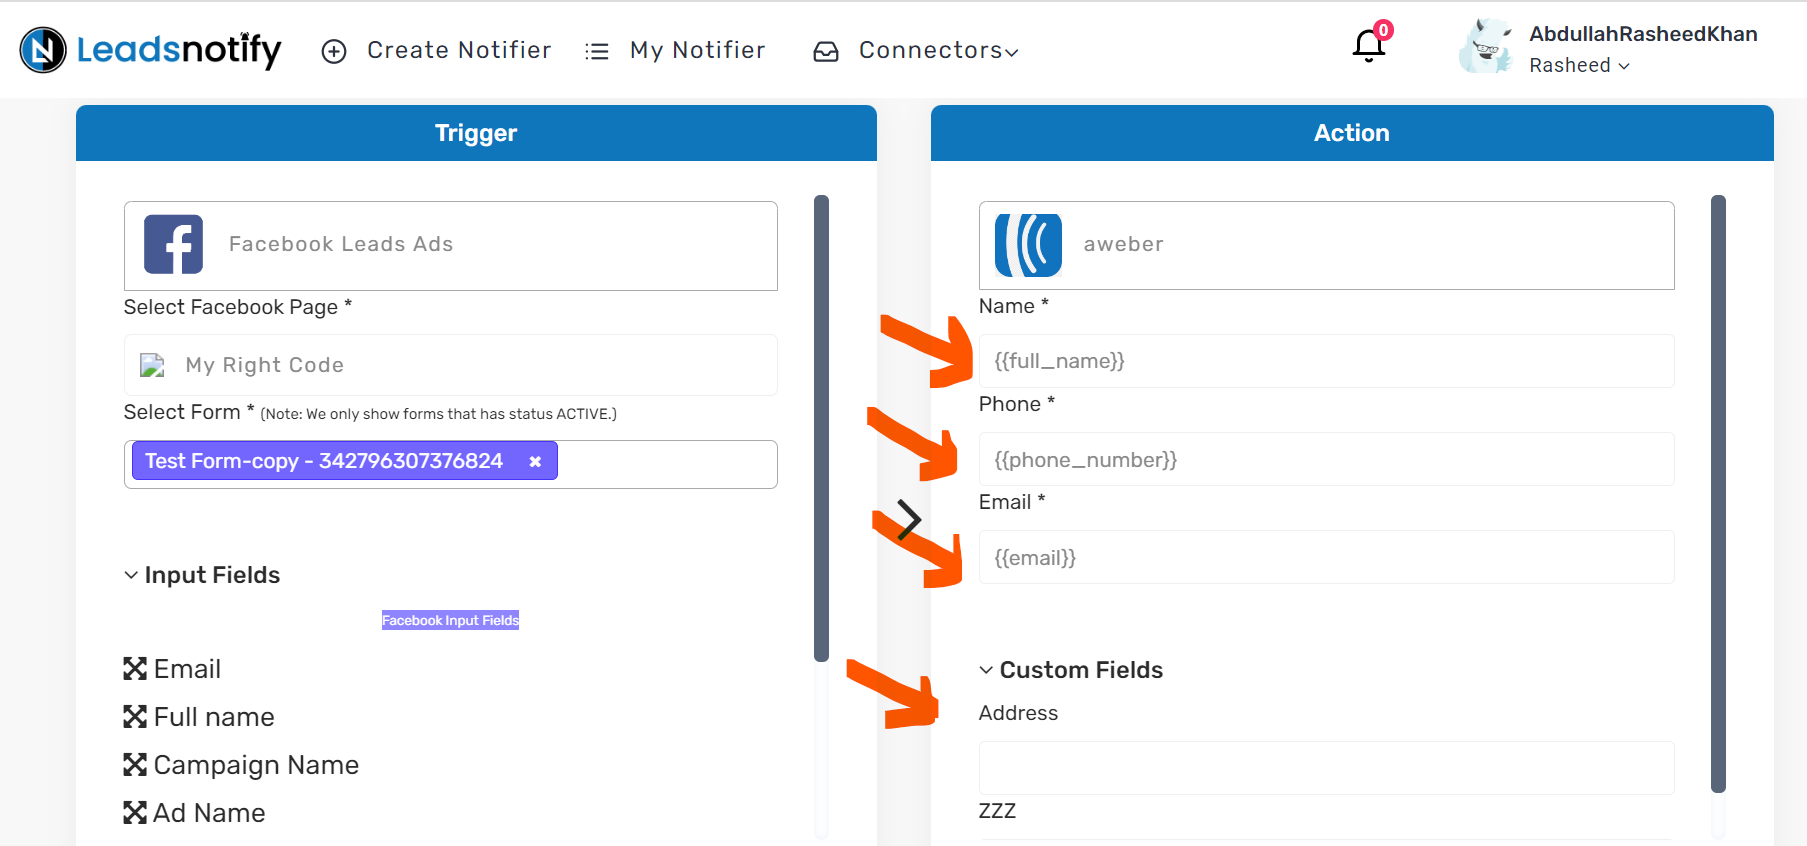
Once the fields are mapped correctly, click Submit to create the notifier.
How to Test the Facebook Lead Ads AWeber Integration
After creating the notifier, Leadsnotify will provide an option to send a test lead so you can verify the integration.
There is an important limitation when testing this integration. Facebook test leads may use an @test.com email address, which AWeber does not permit for creating contacts. If the test lead isn’t added to AWeber, this does not necessarily mean that the integration is incorrectly configured.
For a real-world test, submit the Facebook Lead Ads form using a valid email address and then check your AWeber account to confirm that the contact was received.
How Facebook Leads Are Sent to AWeber
Once the notifier is active, the Facebook Lead Ads AWeber integration works as follows:
- A prospect submits a Facebook Lead Ads form.
- Leadsnotify receives the new lead.
- Leadsnotify processes the lead through the configured notifier.
- The submitted information is mapped to the configured AWeber fields.
- The lead information is sent to your AWeber account.
- The contact can then be managed through your AWeber email marketing workflow, subject to your AWeber settings and applicable consent requirements.
This workflow removes the need to manually export and import Facebook leads and helps move new contacts into your email marketing process more efficiently.
Troubleshooting the Facebook Lead Ads AWeber Integration
If your Facebook leads aren’t appearing in AWeber, check the following:
- Check the Facebook connection: Make sure the correct Facebook Page and Lead Ads form are connected to Leadsnotify.
- Check AWeber authorization: If your AWeber connection or permissions have changed, reconnect the account and authorize the required access.
- Check field mapping: Make sure the Facebook form fields are mapped to the correct AWeber fields.
- Check test leads: Facebook test leads may use an @test.com email address, which AWeber does not permit for creating contacts. Test with a valid email address when possible.
- Check delivery: If a real lead still doesn’t appear, review the Leadsnotify notifier configuration and delivery status, then check your AWeber list.
Facebook also controls when some test or preview leads are delivered. A delay with a test lead does not necessarily mean that your AWeber integration is incorrectly configured.
Benefits of Connecting Facebook Lead Ads to AWeber
- Reduce manual data entry: New Facebook leads can be transferred without manually copying contact information.
- Get leads into your email workflow faster: New contacts can move into AWeber without waiting for a manual import.
- Keep lead information organized: Map Facebook form responses to the appropriate AWeber fields.
- Streamline lead follow-up: Once contacts reach AWeber, you can manage them through your existing email marketing workflows.
- Save time: Automating the connection removes repetitive export and import tasks.
Frequently Asked Questions
Can I connect Facebook Lead Ads to AWeber?
Yes. You can connect Facebook Lead Ads to AWeber using Leadsnotify. The setup lets you connect your Facebook account, configure AWeber, map your lead fields, and automatically send new leads to your AWeber account.
How does the Facebook Lead Ads AWeber integration work?
When a prospect submits a connected Facebook Lead Ads form, Leadsnotify receives the lead, processes the configured fields, and sends the information to AWeber.
What fields can I send from Facebook Lead Ads to AWeber?
During the Leadsnotify setup, available Facebook form fields can be mapped to the corresponding fields in AWeber. The fields available depend on the information collected by your Facebook Lead Ads form and the fields supported by your AWeber configuration.
Why isn’t my Facebook test lead appearing in AWeber?
Facebook test leads may use an @test.com email address, which AWeber does not permit for creating contacts. Facebook can also control when some test or preview submissions are delivered. If necessary, test the workflow with a real lead and valid email address.
Do I need coding experience to set up the AWeber integration?
No. The Leadsnotify setup is designed to be configured through the interface. You connect your accounts, select your Facebook form, connect AWeber, map the fields, and activate the notifier.
Start Sending Facebook Leads to AWeber Automatically
Connecting Facebook Lead Ads with AWeber can simplify the process of moving new leads into your email marketing workflow. With Leadsnotify, you can connect your Facebook account, configure the AWeber integration, map your lead fields, and test the connection before using it with live campaigns.
If you’re looking for a simple Facebook Lead Ads AWeber integration, Leadsnotify can help automate the connection and reduce the need for manual lead exports and data entry.
Ready to connect your Facebook leads with AWeber? Sign up for Leadsnotify and create your AWeber notifier.
Set up a free notification in a few minutes.

Abdullah Khan
A Technical Lead and backend architect with 10+ years of experience building reliable, high-scale APIs and automation systems. At LeadsNotify, he helps build and maintain the integrations that route Facebook and LinkedIn leads to email, CRMs, and marketing tools in real time.
Connect on LinkedIn ↗