Facebook is a really big and popular site for showing ads and telling people about things. Many people all over the world use Facebook, so it’s become one of the best spots for companies to show their ads and try to sell things.
Whether it’s an ad campaign to promote something or a campaign to find potential customers, Facebook is the first choice for most advertisers. One of the most popular ways to promote things is by finding people who are genuinely interested in what you’re selling.
Every day, advertisers create lots of these interested groups, called leads, by using Facebook. This helps them sell more of their products or services and make a big difference in their sales.
Steps to Download Leads
There are few simple steps to download the leads from Facebook.
Step 1
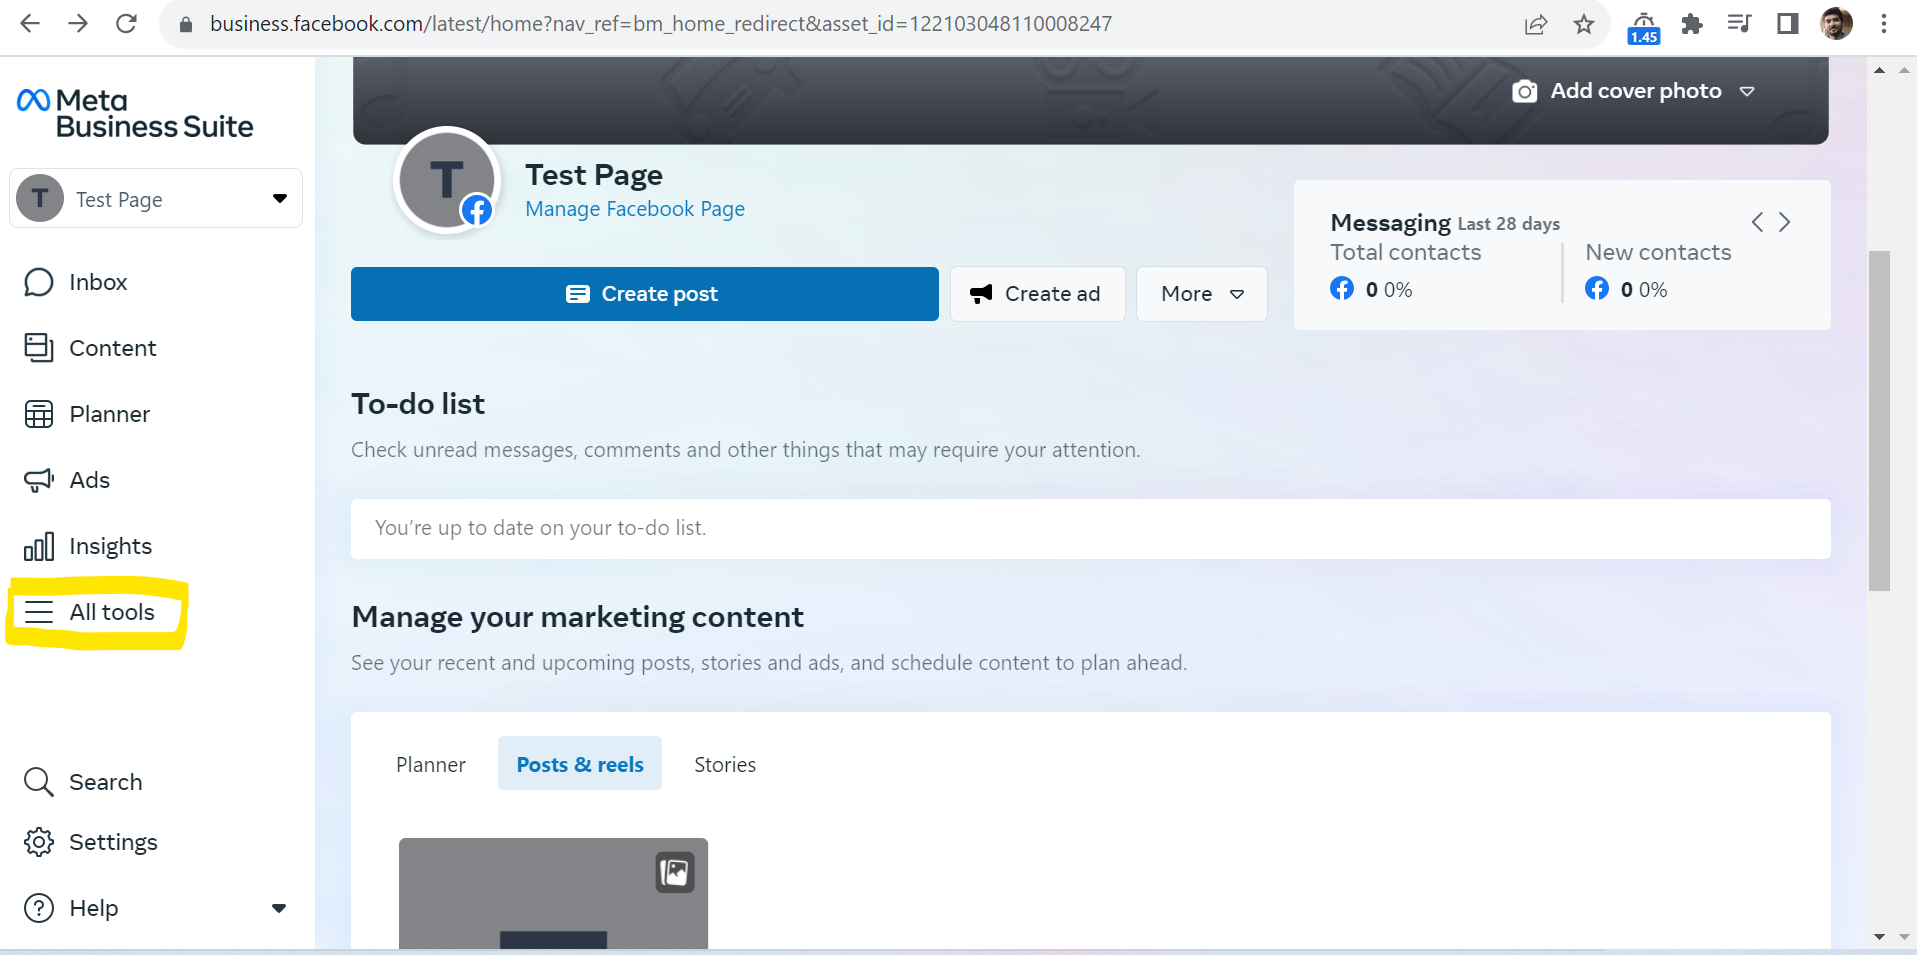
First, you need to go to this web address: https://business.facebook.com/ to open the Meta Business Suite. After that, you’ll see a list of your Pages in a small menu at the upper left part of the page, just like in the picture below.

In the example I’m showing, I’ve picked a test page, and you can see it’s highlighted with a yellow box. However, for your situation, please choose your actual Facebook page instead.
Step 2
Now you need to click on All Tools highlighted in the screenshot below.
When you click on it, a large box will appear. You have to look for the option called “Instant forms” among many other choices. I’ve included a picture below to help you see what I mean.
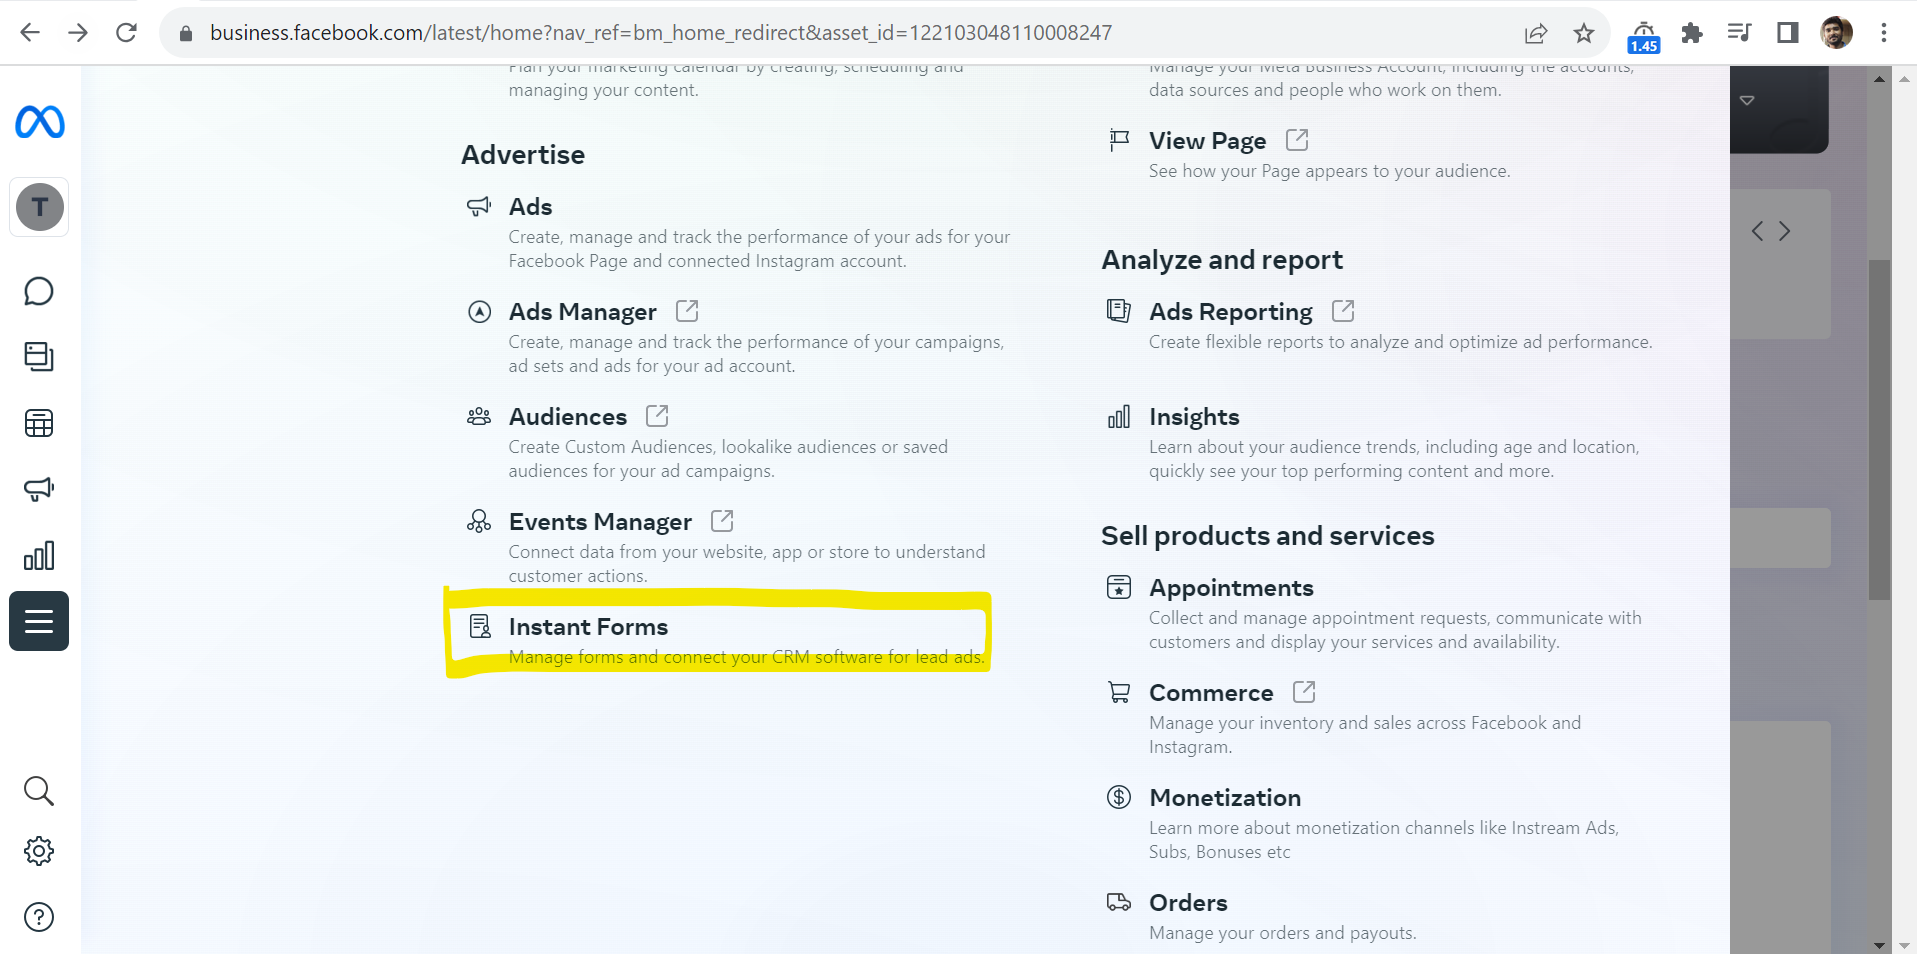
When you click on “Instant forms,” you’ll go to a page where you can find all the forms connected to your Facebook page. Since you can create different forms to gather interested people, you’ll see all of them on this page.
Step 3
As you can see in the screenshot below that the form which we created earlier is listed here.
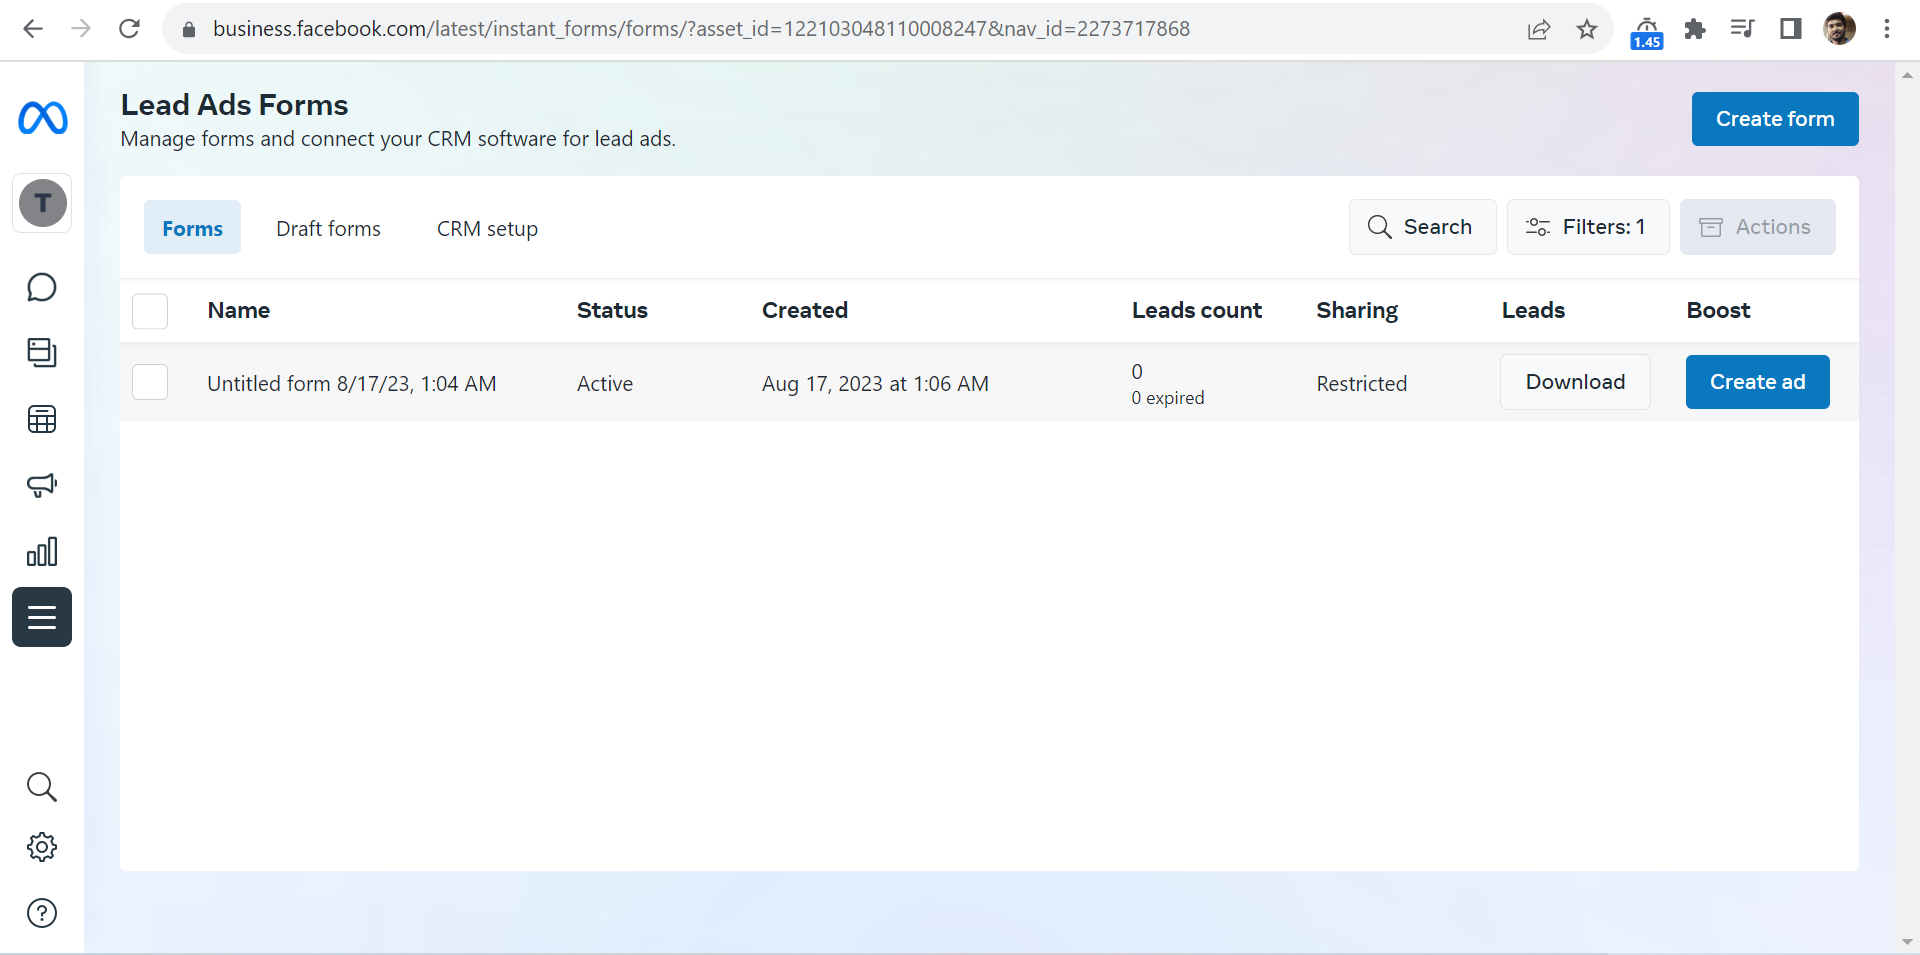
You will be able to see the total count of leads for each form. It will help you to know how many leads are there on that particular form. On that page you need to click on Download and it will ask you few options either you want to download it within the date range or download the full CSV sheet.
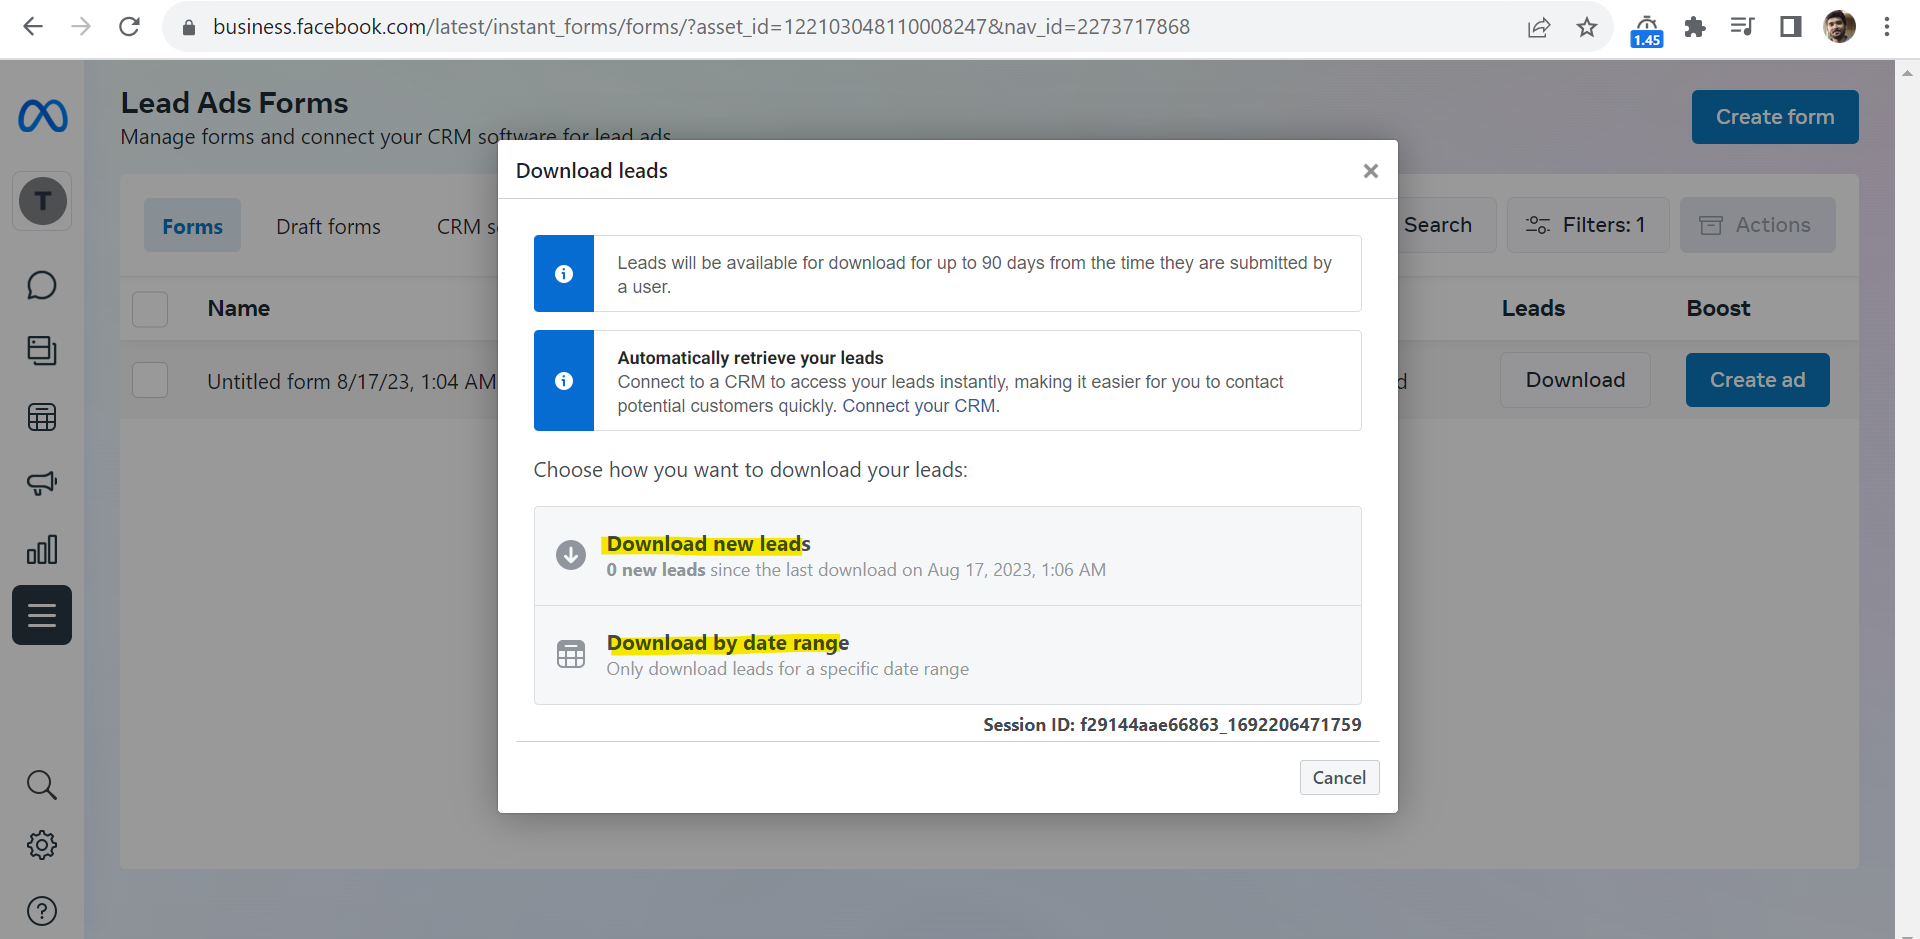
It will simply download a CSV file with all the leads you have received so for on that instant form. You need to download the CSV for all the forms separately one by one.
This process has to be repeated again and again in order to check if you got some new leads or not. It’s a tedious process and needs full attention or you may loose your valuable leads
Remember, Facebook removes the Leads information after 90 days. So, make sure to download the list before that time is up.
There is anther precise article written by Facebook ( Facebook Article ) itself to help downloading the leads manually.
Get Email Alerts on Each New Lead
Among various options, there’s a really good way that can quickly send you all the new interested people to your email. This means you won’t miss any leads, and you won’t have to keep downloading CSV files over and over every day and hour.
LeadsNotify is a helpful tool that can do this for you without any charge, even for a few Facebook pages with as many leads and forms as you want. You just need to sign up with them, link your Facebook page, and set up a Notifier. Let me explain the steps to make things simpler for you.
Step 1
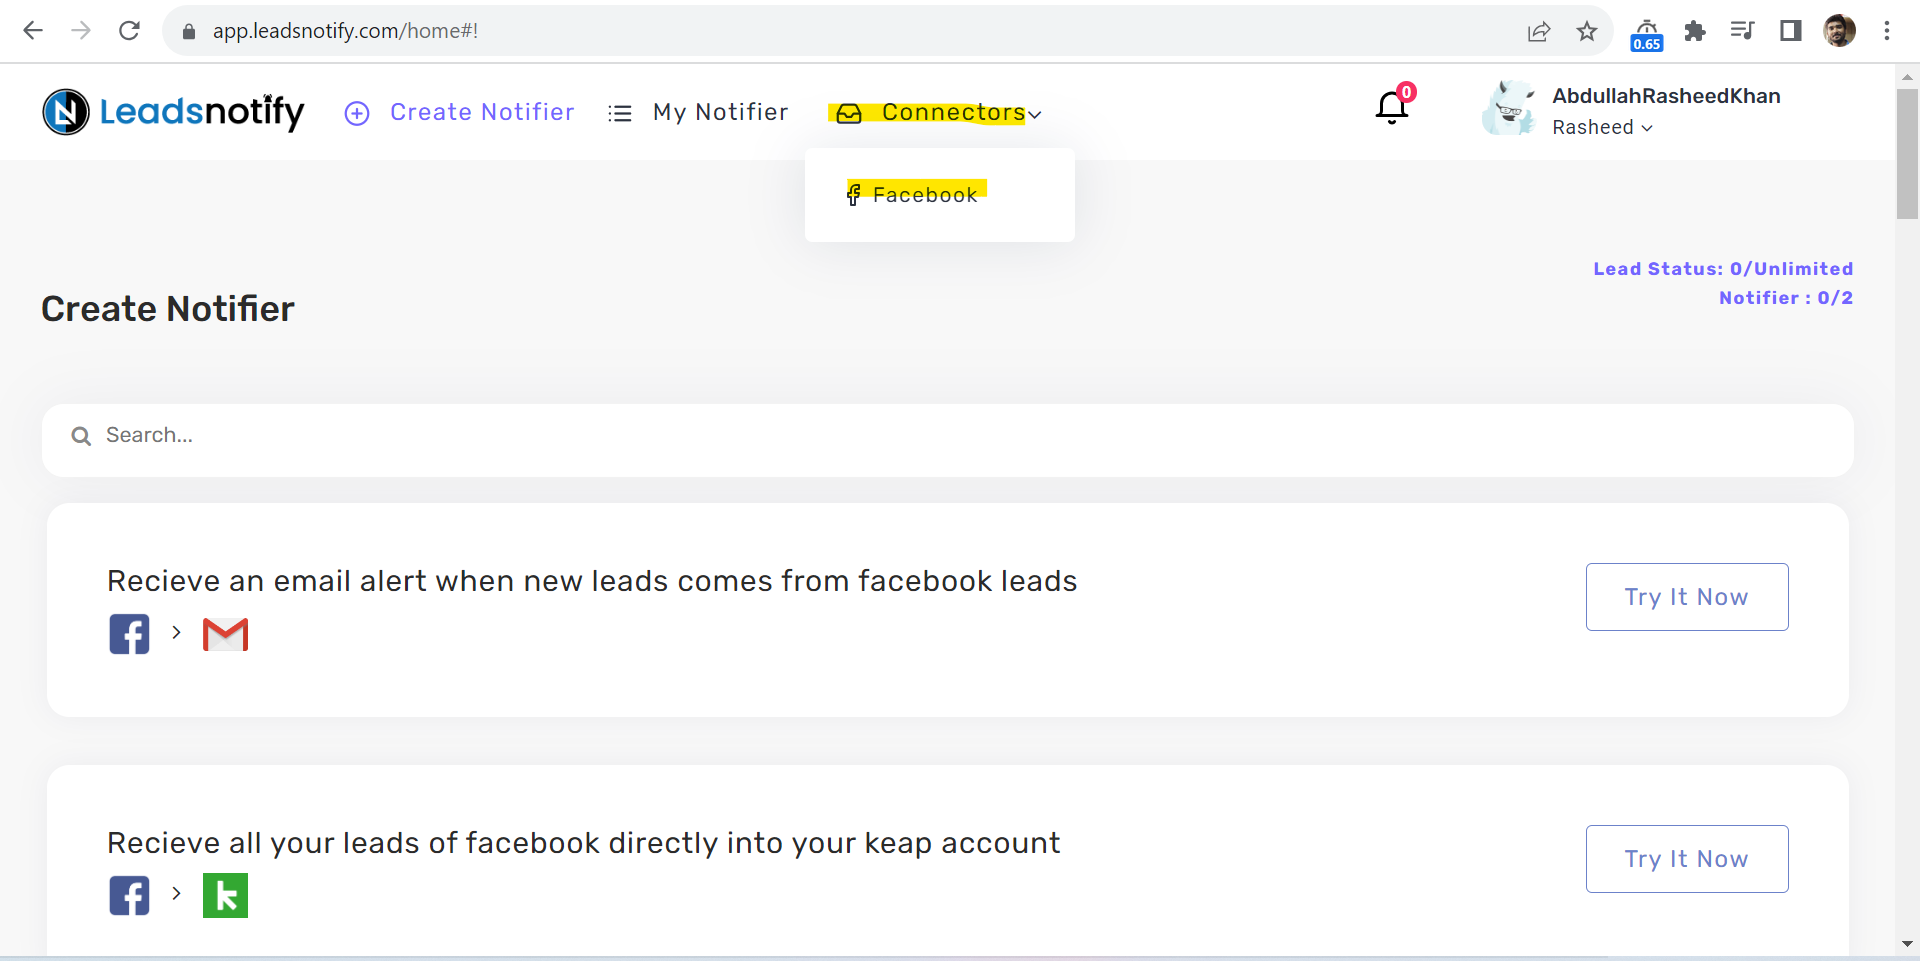
Login into Leads Notify portal and after login you will see the page like below. You would need to click Connectors and inside that please click on Facebook
Step 2
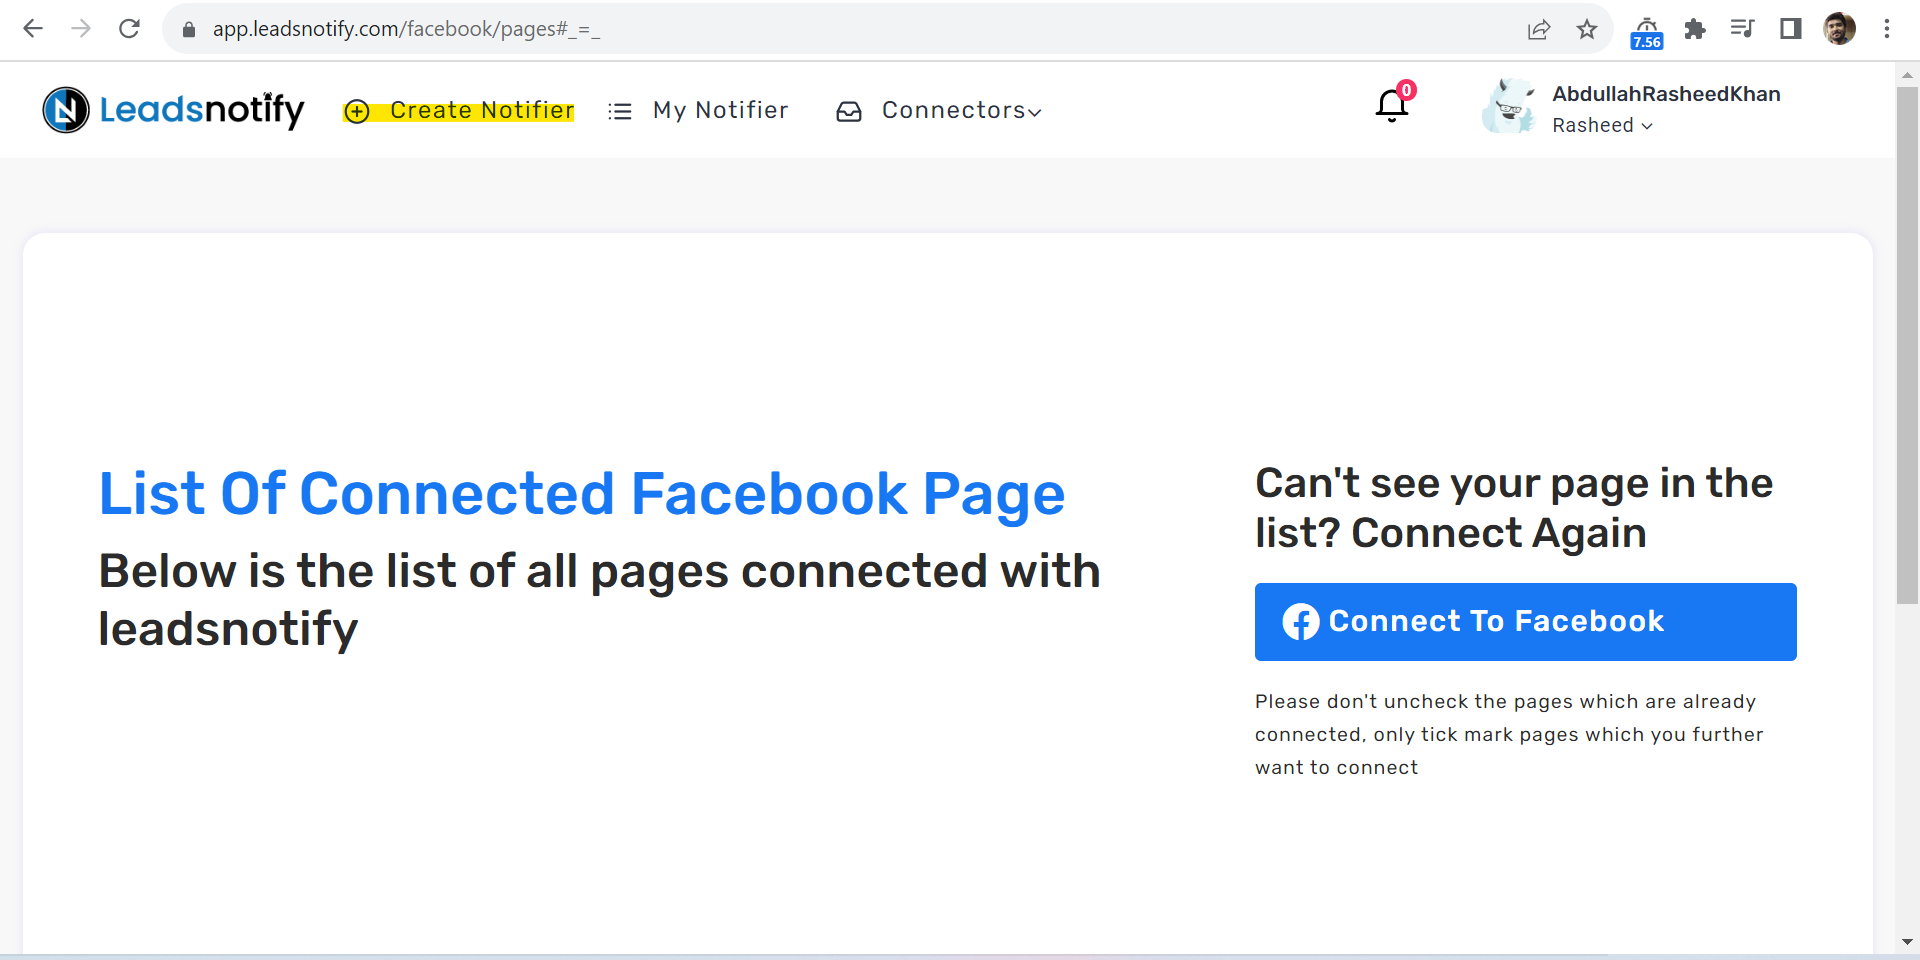
It will redirect you to the page where you will be asked to connect your Facebook. When you click on the Blue button Facebook it will redirect you to Facebook.
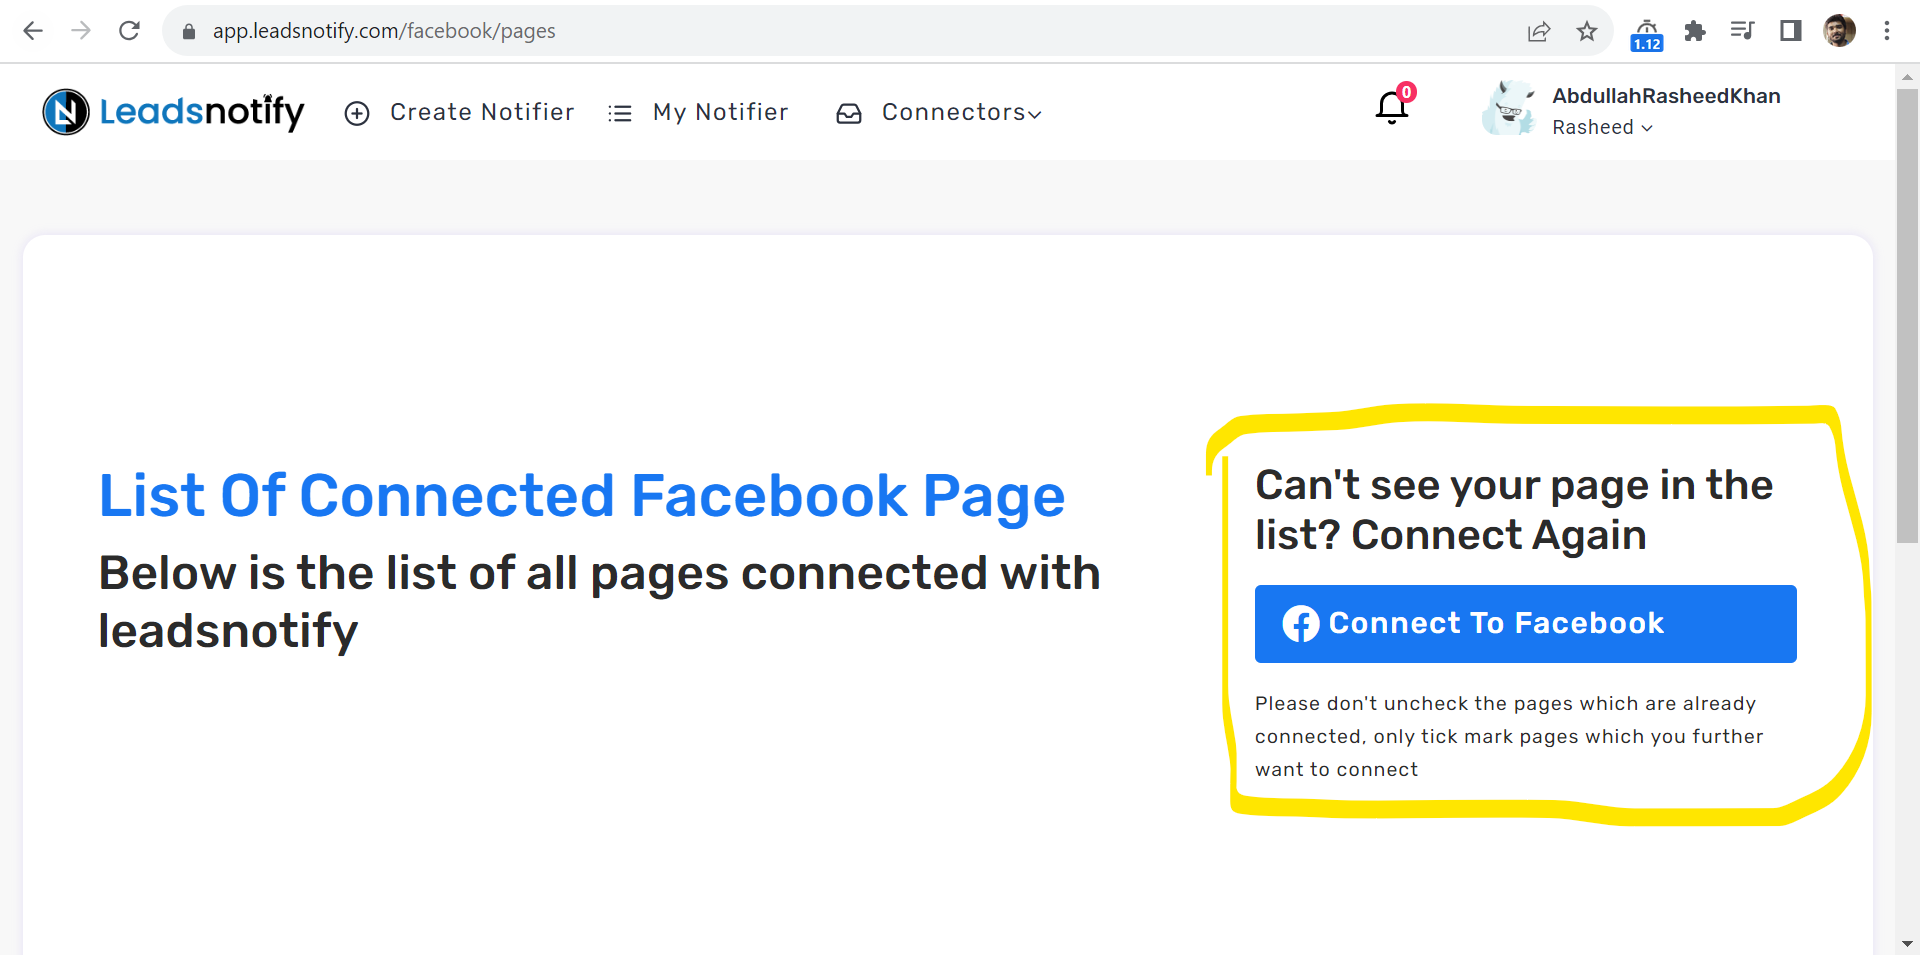
Facebook popup will show all of your Facebook pages in the box, You will be able to select the pages you want to connect with the app.
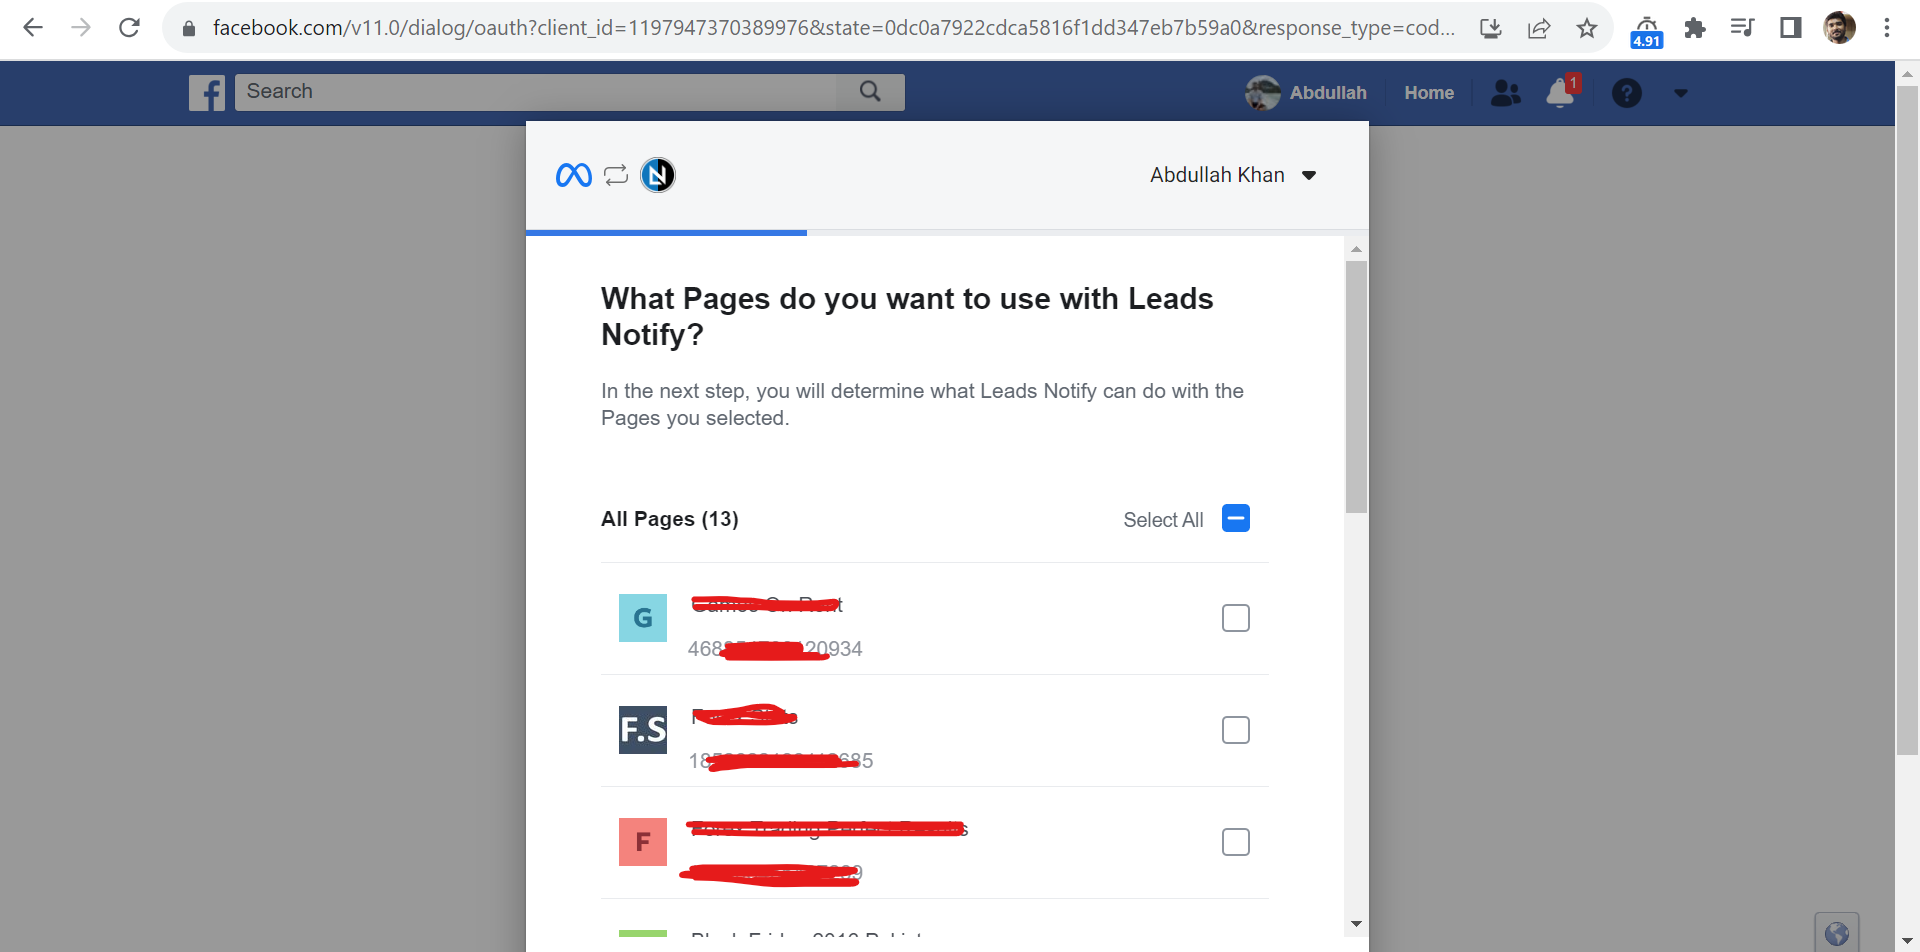
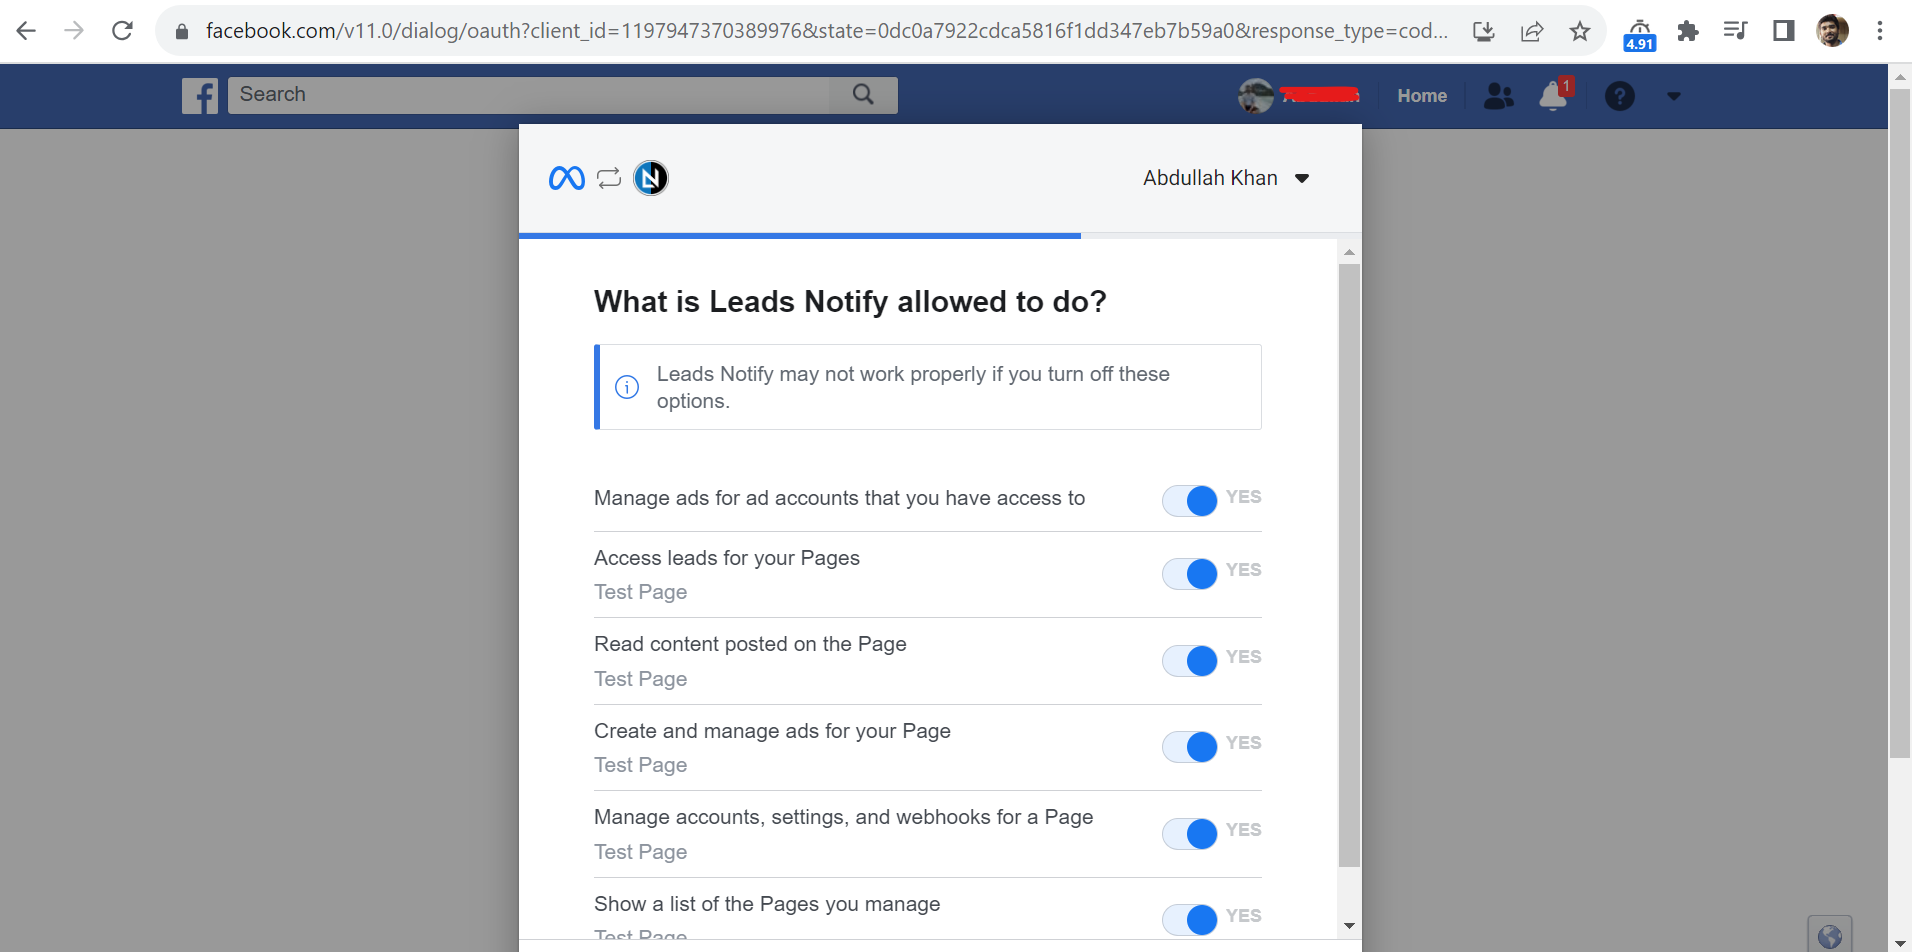
You have to give the right permissions to the app so it can send the leads as email alerts. Facebook will ask for your permission, like you can see in the picture below. Make sure you say “yes” to all the permissions, otherwise LeadsNotify won’t be able to send you new leads through email.
After you click on Done it will redirect back to LeadsNotify portal and it will show the Facebook page status as Connected like below
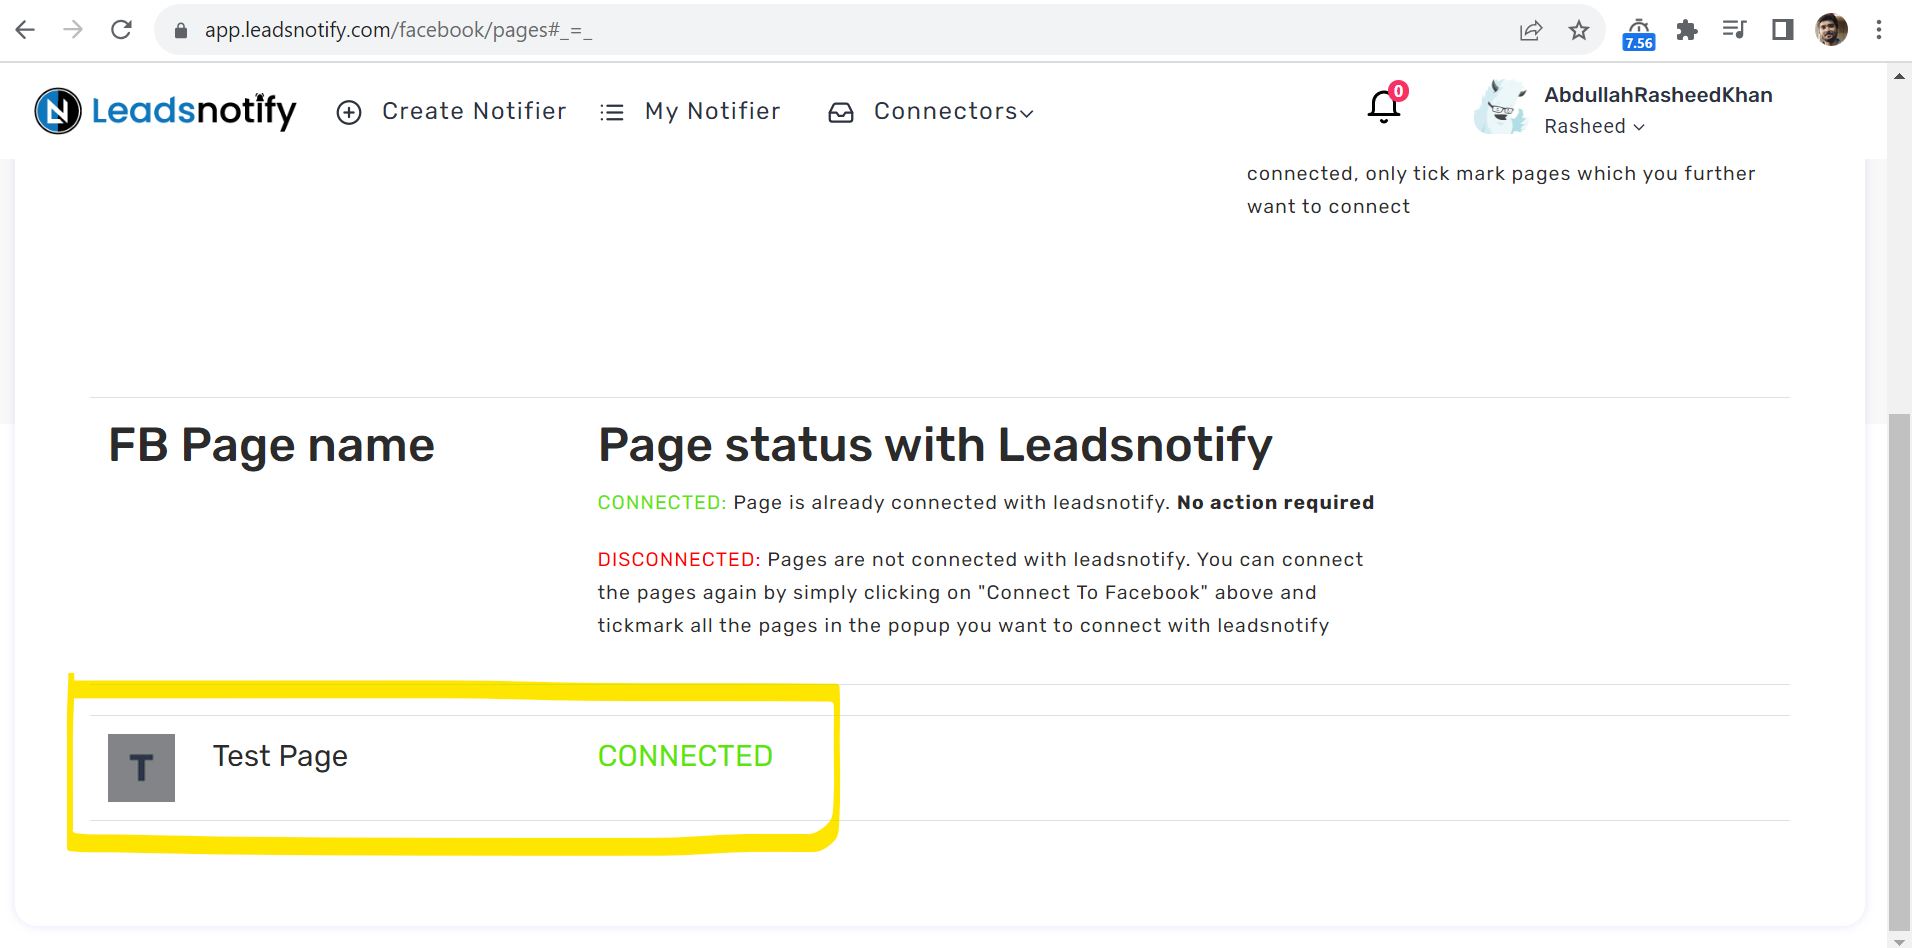
In my case it’s Test Page but in your case it will show your real Facebook page name.
Step 3
After successfully connecting your Facebook page now we need to create a notifier which will actually help you to get your leads on email real-time. In the header of the app you can see Create Notifier option.
After clicking it will start showing you many integration options but we need to select only the email integration.
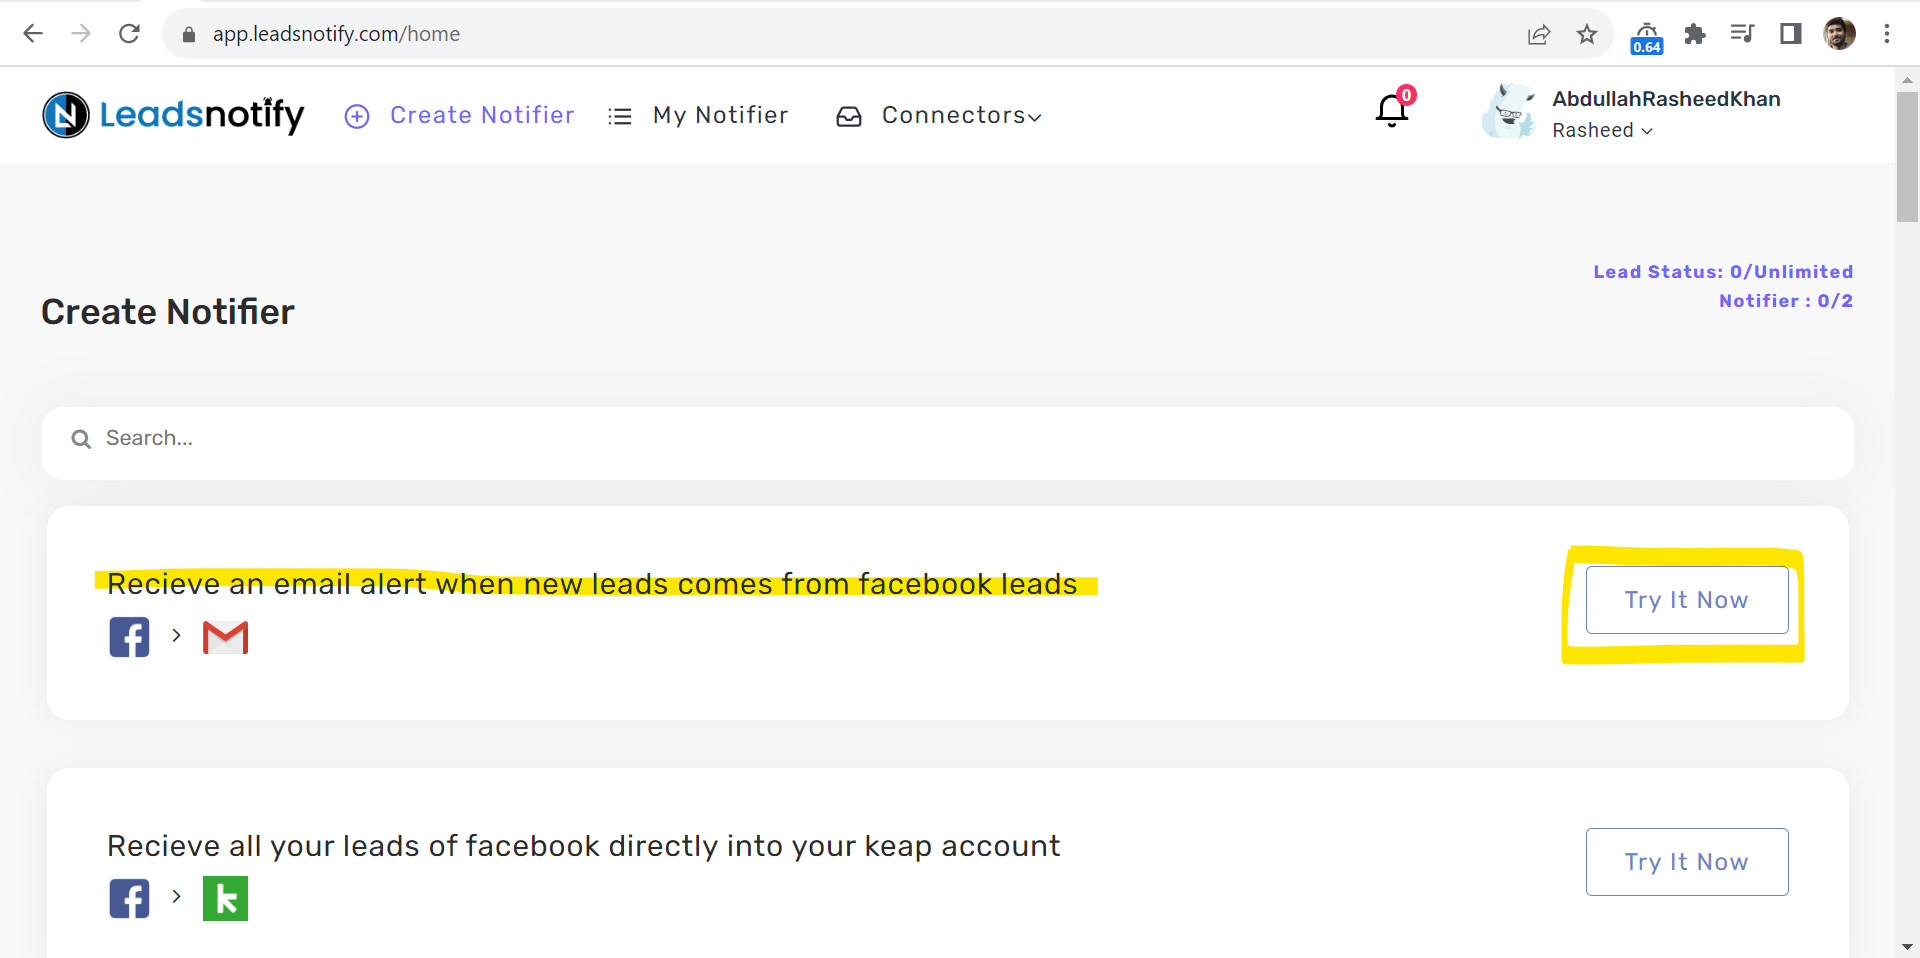
Click on the Try it now button then it will show you the configurations form what page and where the leads should be sent as an email.
Step 4
This is the main step which needs attention. Here are few different inputs which we need to set
- Select Facebook Page ( Required )
- Select Page Forms ( Required )
- Email To ( Required )
- Email CC ( Optional )
- Email BCC ( Optional )

Simply we will select and set all the relevant fields. There is one thing which is pretty good in the system that you can select multiple forms without any limit. So in just one connection/Notifier you will be able to get the leads from all instant forms related to that page.
Here is our Notifier with all the information.
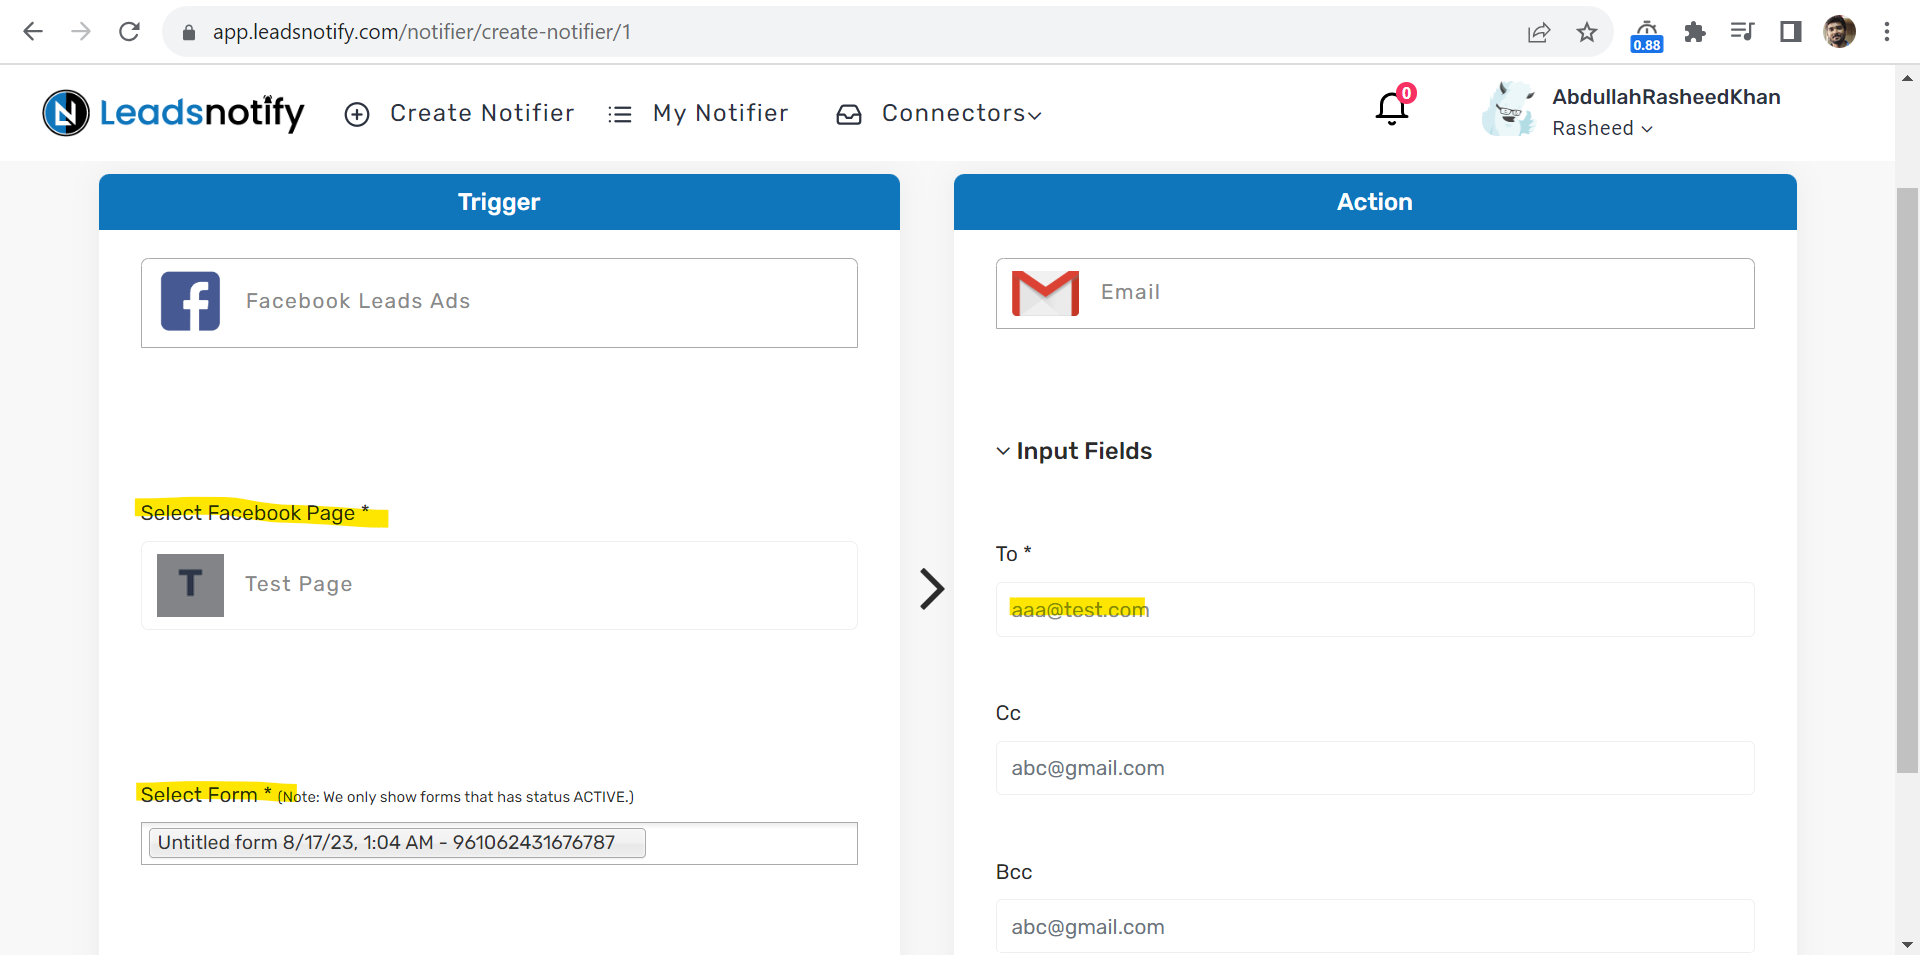
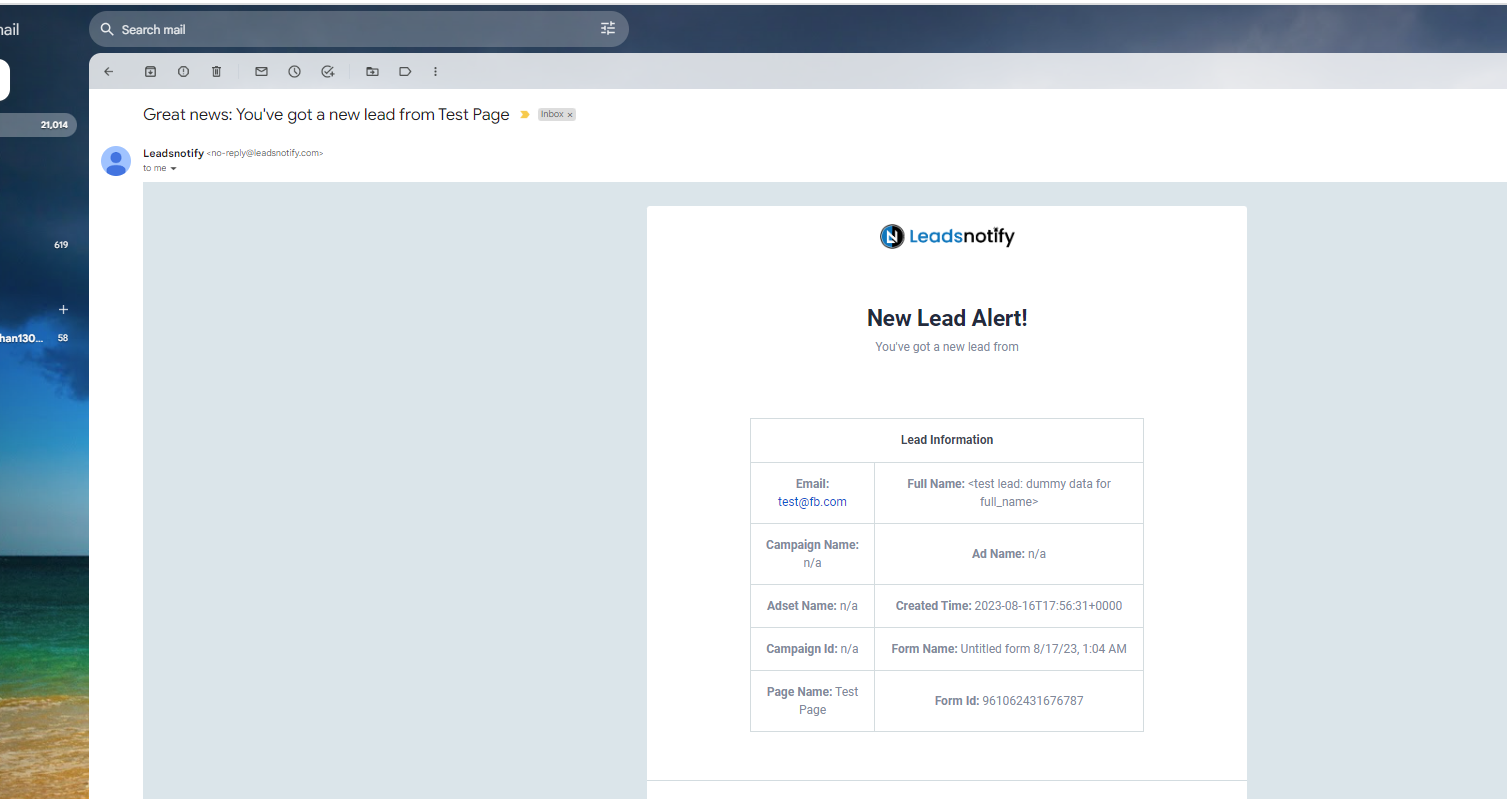
Everything looks perfect. Now we will finally create this Notifier. You will see a success message when it’s saved and ready to use. There is a small button called Test Notifier which will help you to send a test lead to make sure system is working fine.
In our case we got our dummy lead in the email address
Last Updated on August 28, 2023 by hizqeel