Sender.net is an email marketing and automation platform that simplifies email campaign creation, management, and tracking for businesses and individuals. It offers features like template design, list management, and performance analytics.
Here are the simple and quick steps to automate your Facebook leads into Sender.net.
Step 1:
Signup & Login into Leadsnotify
Step 2:
Link your Facebook account with Leadsnotify. I’ve outlined the connection process in a separate article; please check out the instructions provided in steps 1 and 2 in that article. (How to connect Facebook).
Step 3:
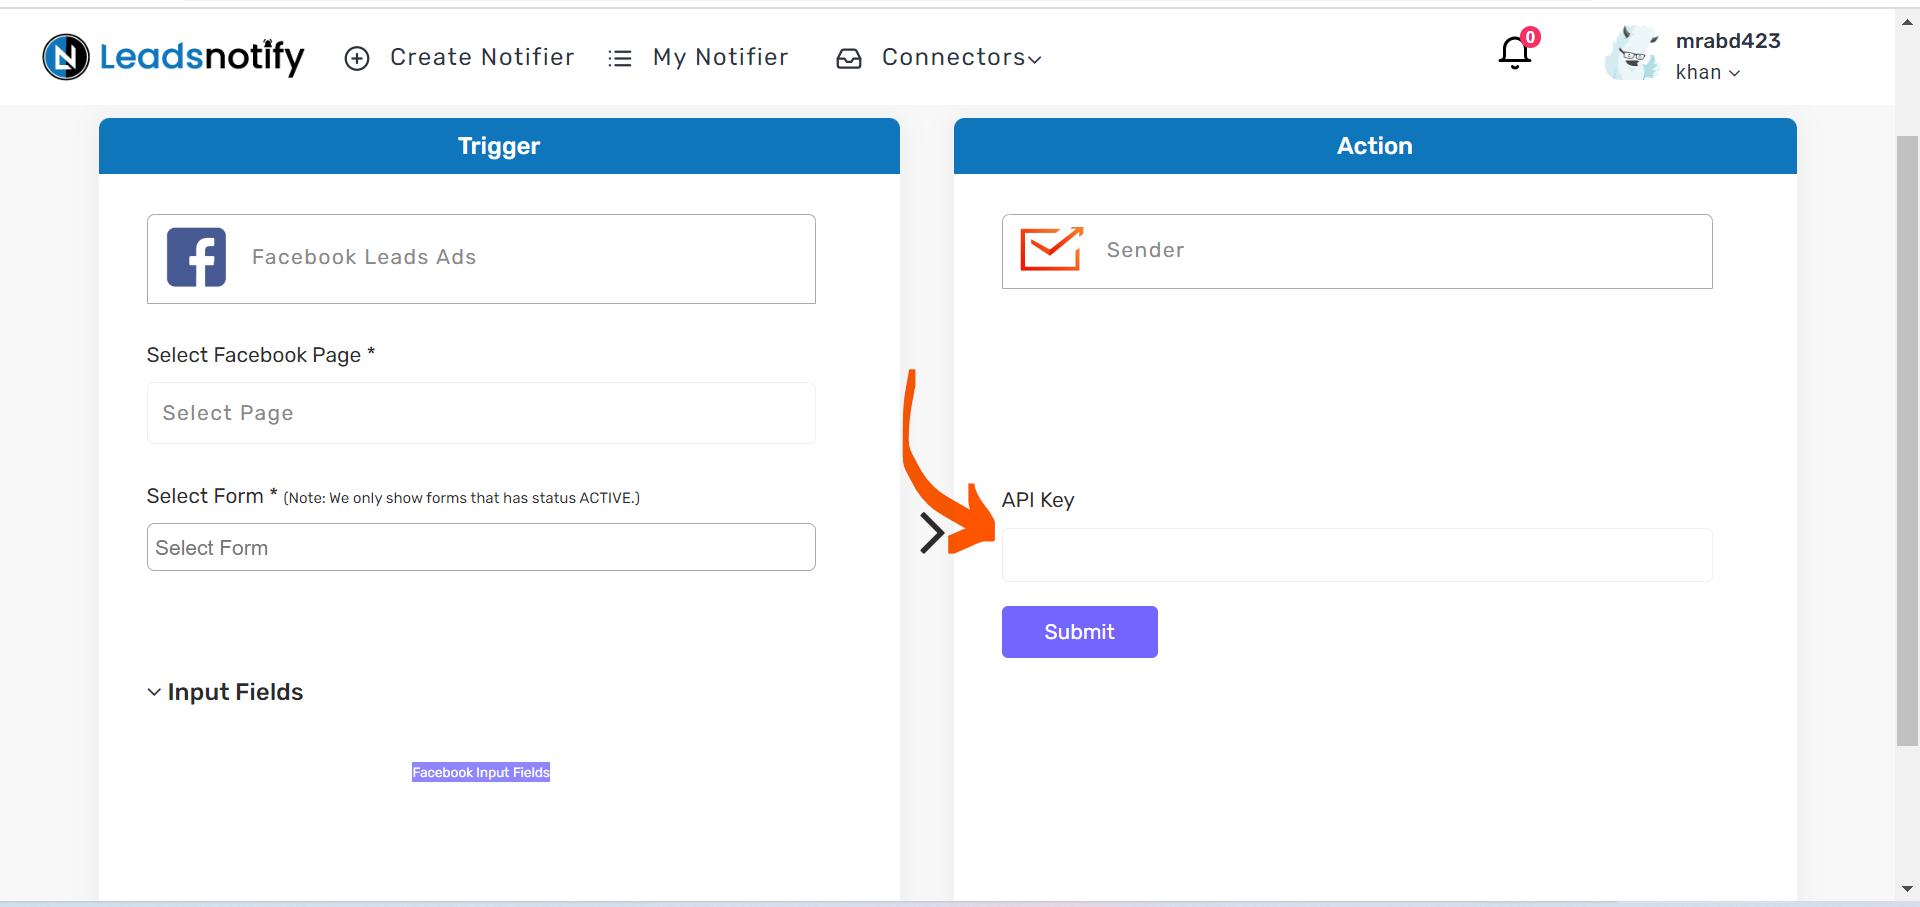
Click on Create Notifier after you login into Leadsnotify & search sender.net integration and click on Try Now. It will open a new page & here you will be required to set Facebook Page & It’s Lead forms. You can select any Facebook page which you have authorize with Leadsnotify and select multiple lead forms.
In the Action section you will be asked to enter API key of your Sender.net account. Here are the simple step to get it
- Login into your Sender.net account
- Go into the Settings
- Click on API Access Tokens
- Here you can use an existing token or create a new token. We advise to create a new token which is only shared with Leadsnotify & with no other apps.
Step 4:
Copy the access token and paste it in Leadsnotify action box. Like below.
After you give the API Token and click on Submit. It will cross check the API token and will fetch the required and custom fields. First field will be there to set in which Group you want the Subscriber to be created.
Leadsnotify allows an option to map the fields between Facebook instant forms and with Custom fields of Sender.net
Overview of Configuration
Here is the test overview of the configurations we have set for a testing purpose
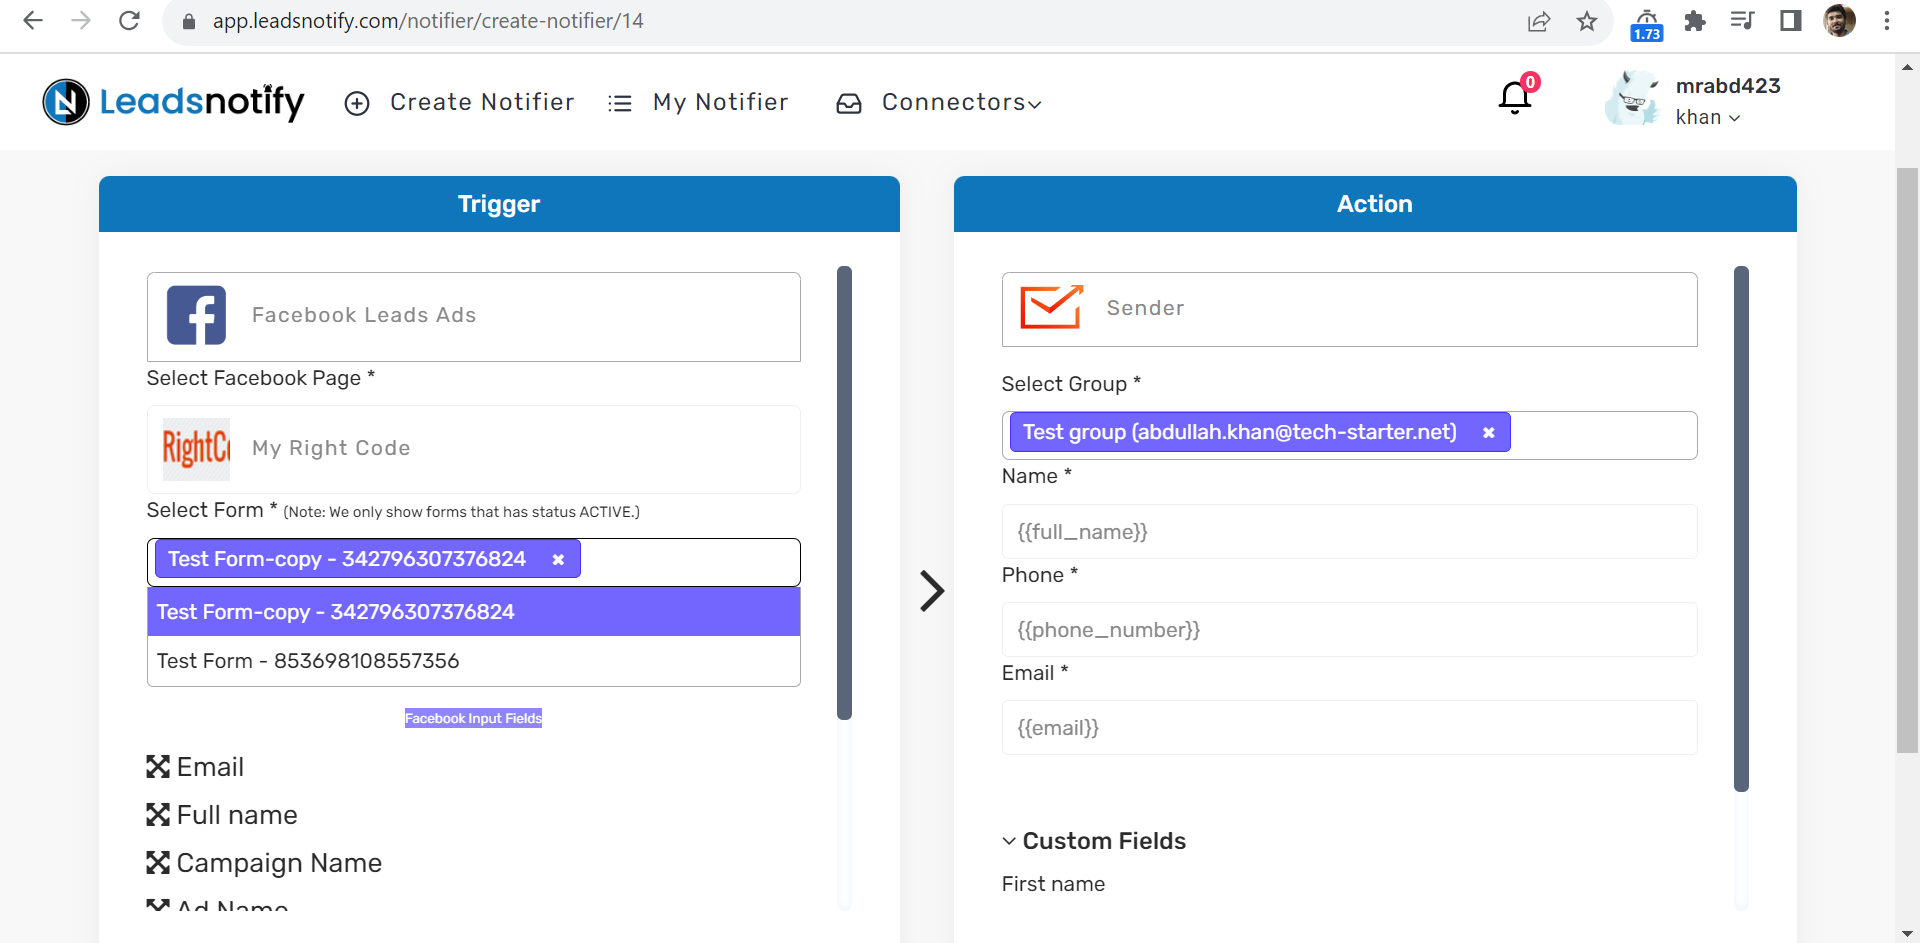
This how your configuration will look like, Off course you can set your own Facebook page and forms.
Step 5:
After setting up everything you need to click on Save it will reload the page & will ask you to send a test lead to verify the integration.
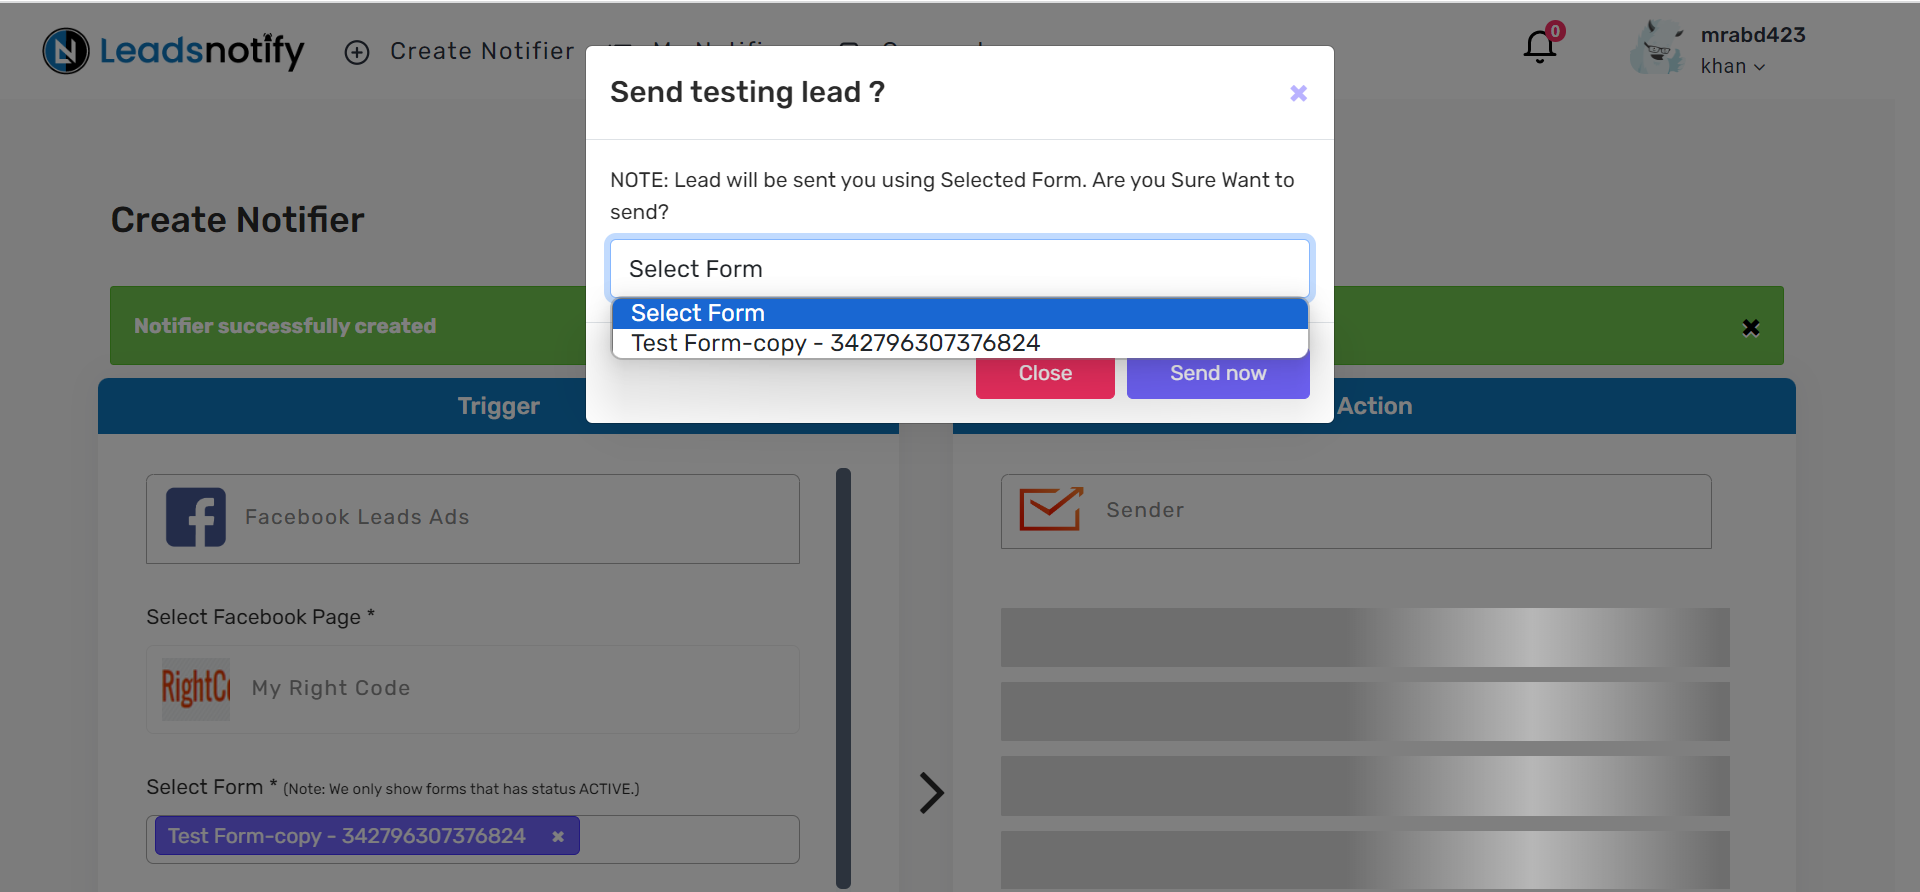
Select the Facebook form from where you want to send the test lead & click on Send now. It will load and will show Success message if the test was successful otherwise it will show some error if there is something wrong with the integration.
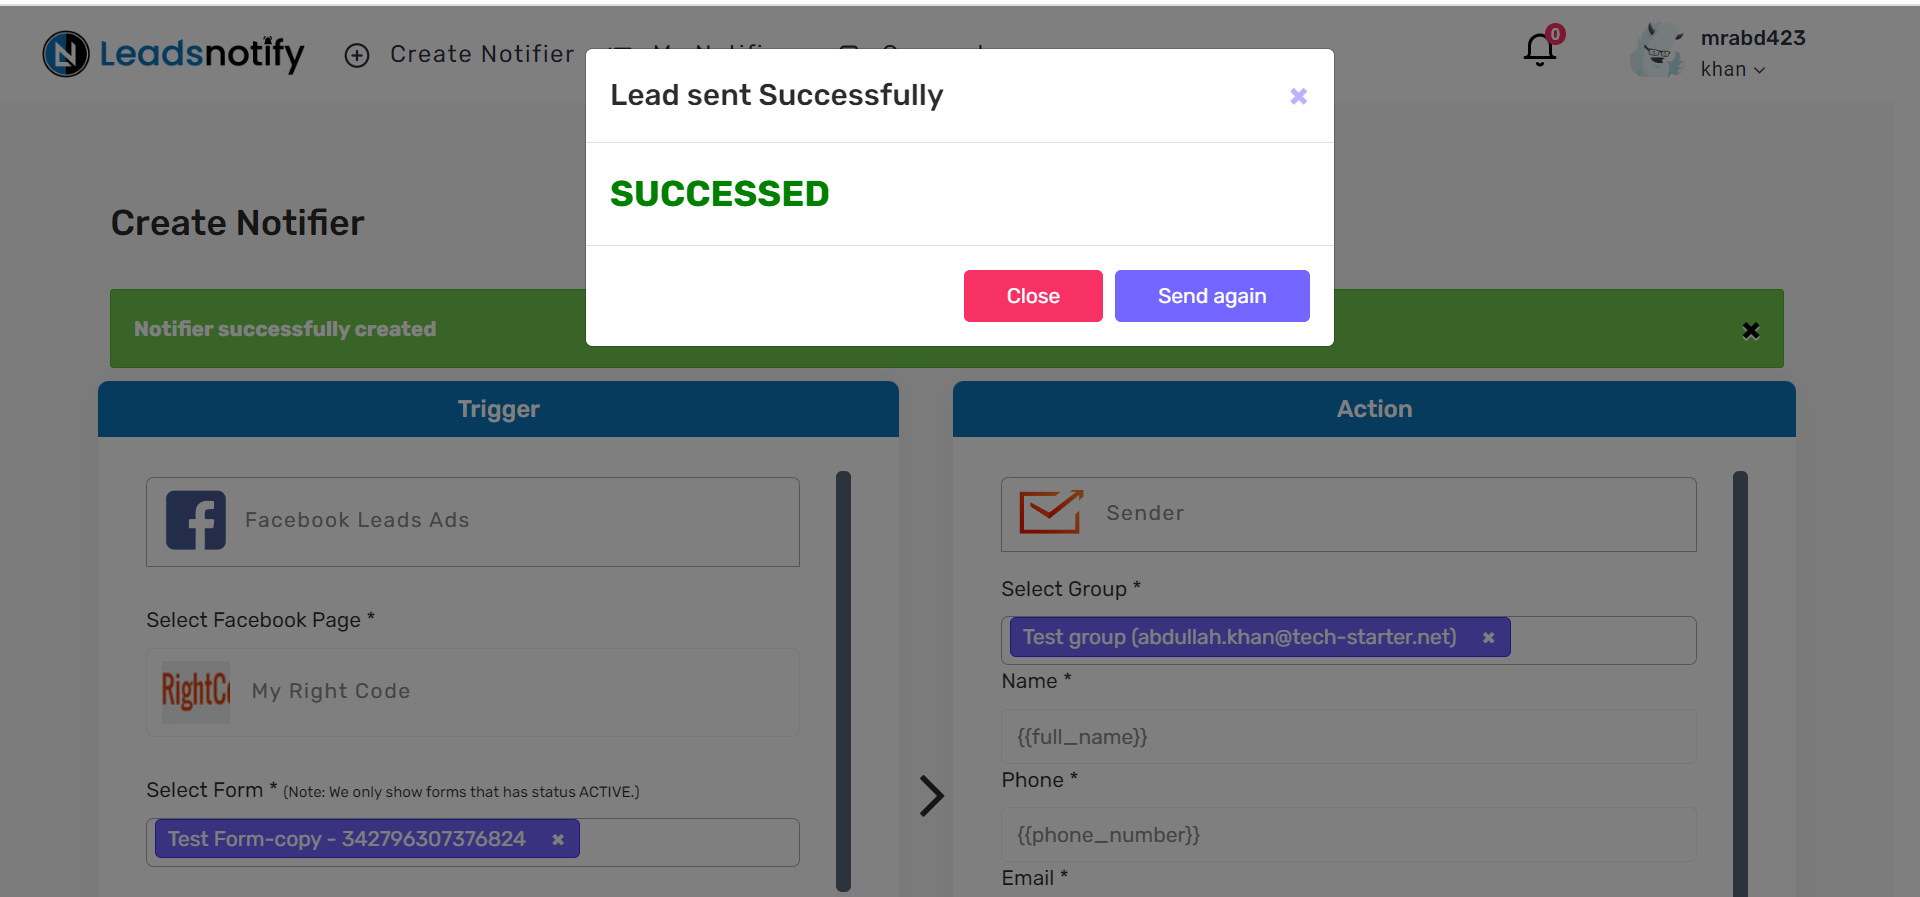
Lead is successfully created in Sender.net and you can open Sender.net account and cross check it. Here in our case lead is arrived in Subscriber module.
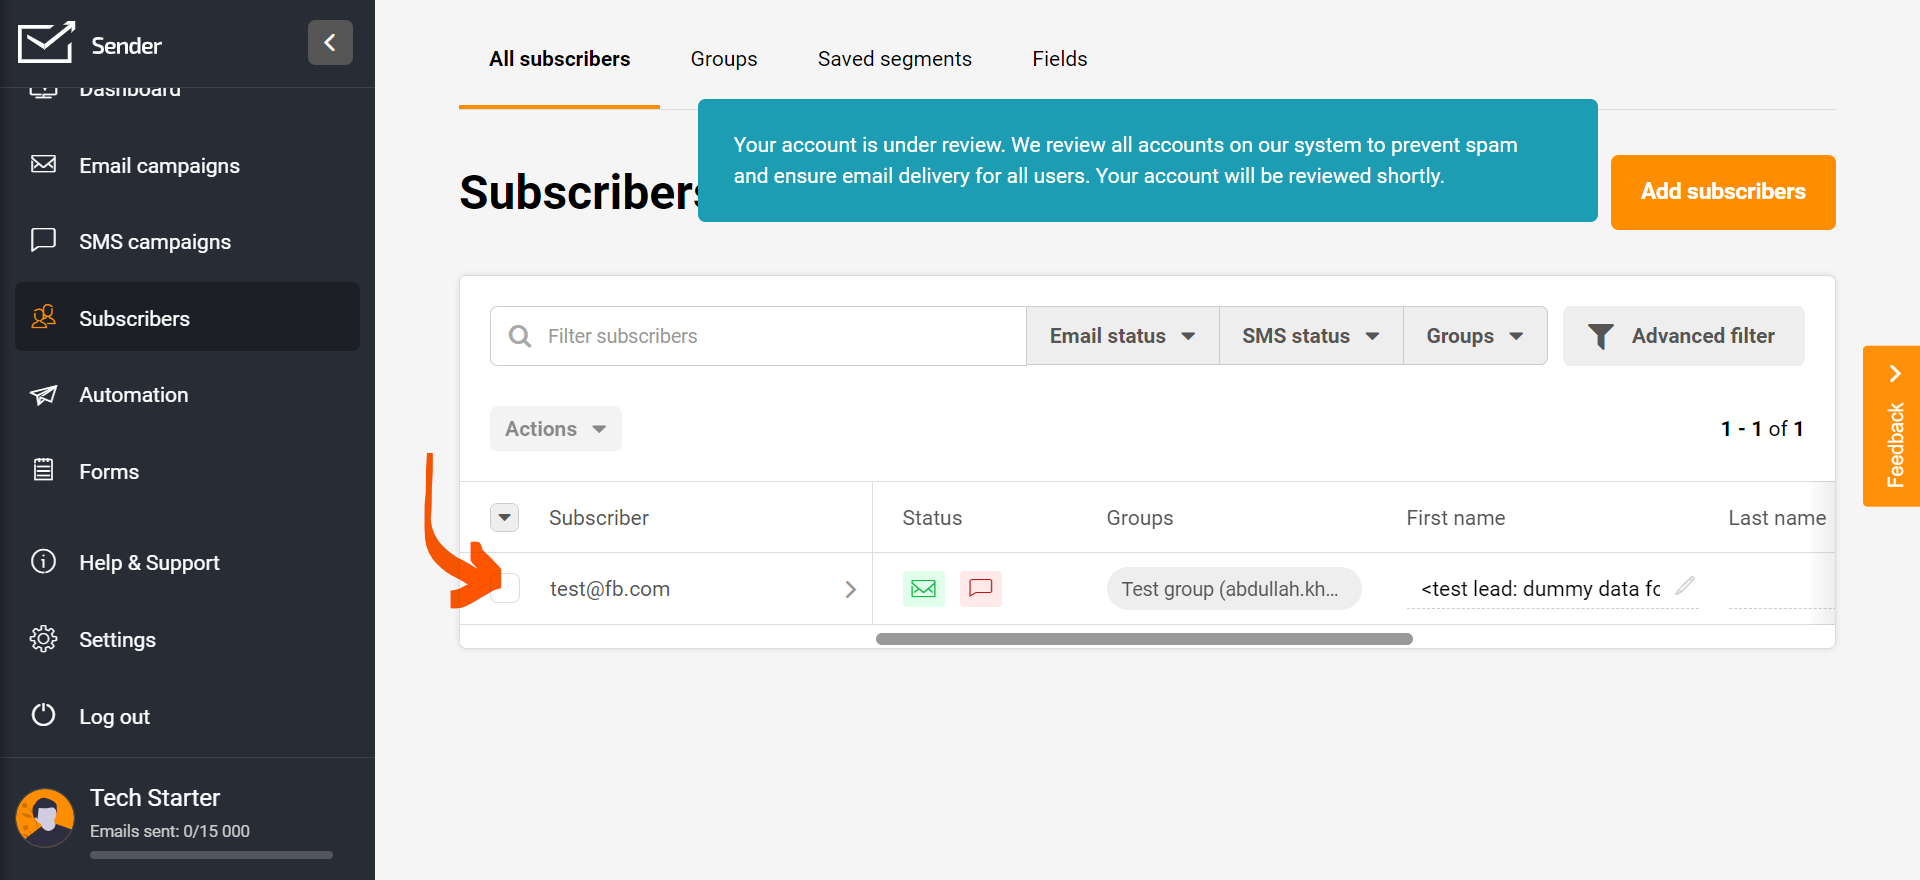
Lead is successfully created in Sender.net
Thank you
Last Updated on January 13, 2024 by ABD K