Zoho CRM is valuable for its user-friendliness, customization, and features like automation, lead management, and analytics, making it a useful tool for businesses to streamline customer relationships and boost sales efficiency. It’s also affordable and offers mobile accessibility, enhancing its practicality for a wide range of users.
Here are the simple & easy steps to follow to get your Facebook leads into your Zoho CRM using Leadsnotify.
Step 1:
Signup & Login into Leadsnotify
Step 2:
Link your Facebook account with Leadsnotify. I’ve outlined the connection process in a separate article; please check out the instructions provided in steps 1 and 2 in that article. (How to connect Facebook).
Step 3:
Click on Create Notifier in the header menu & search integration for “Facebook lead to Zoho CRM integration” and click on Try now.
Step 4:
Try now page will show you a big box page where you will be able to set Trigger & Action details.
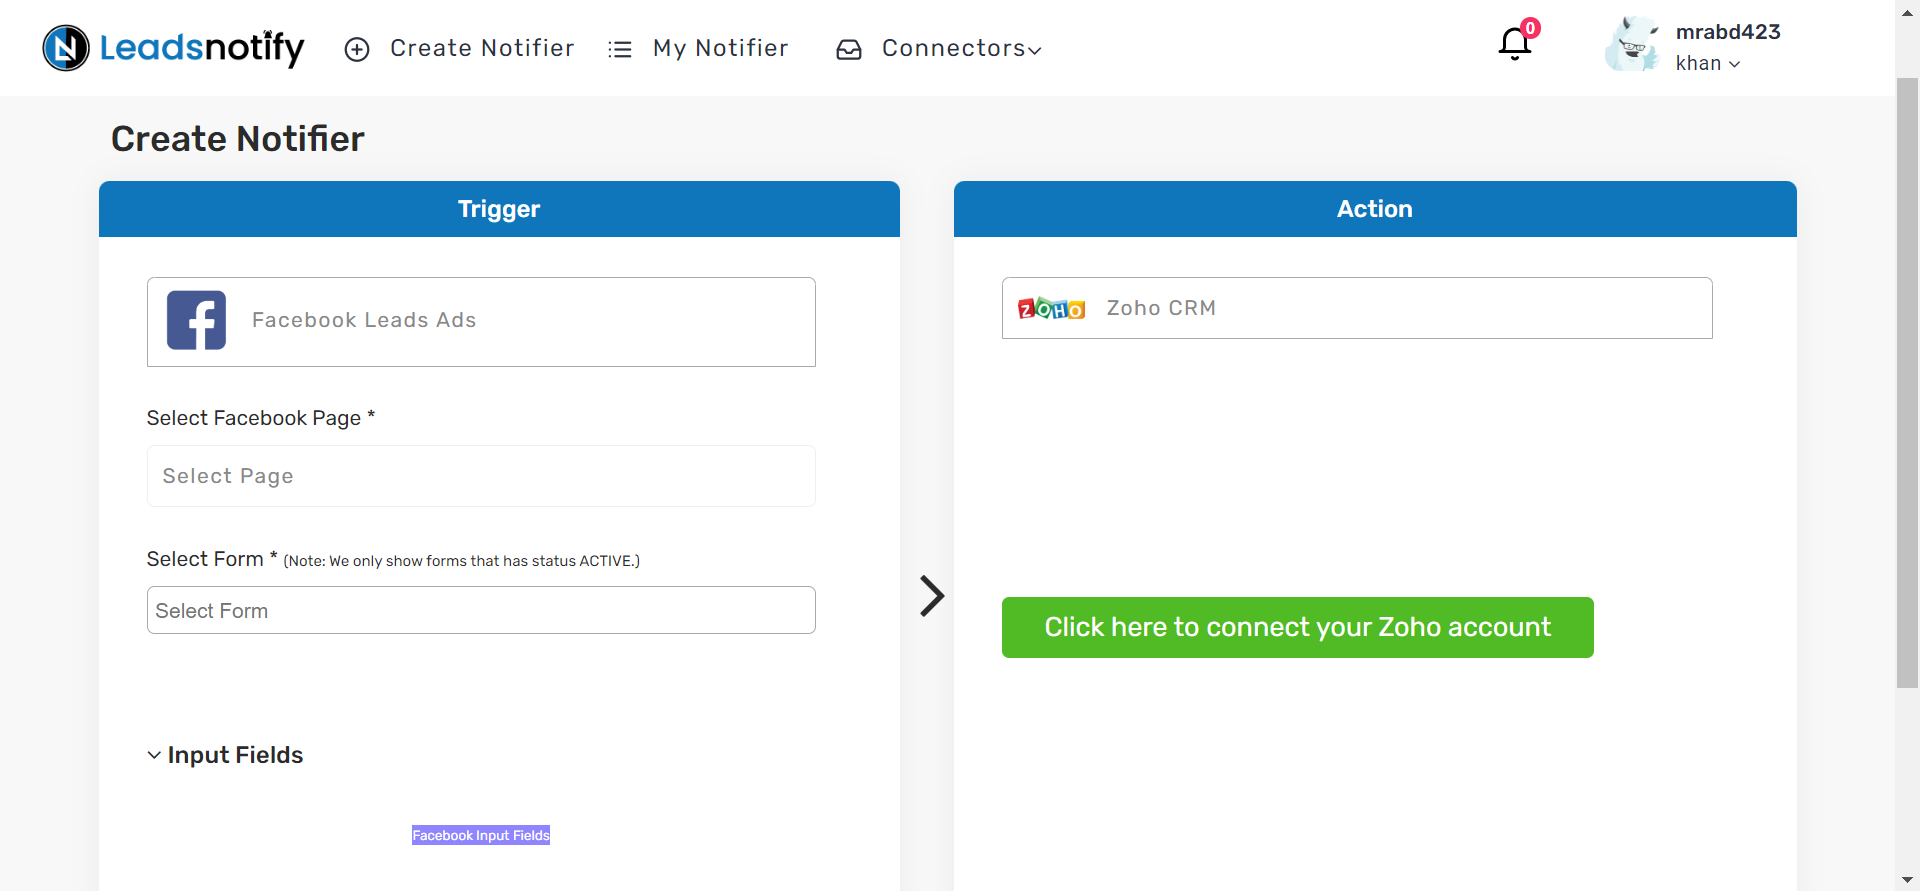
The trigger enables you to configure your Facebook page and its associated instant forms. Once you’ve chosen the Facebook lead form, the system will promptly display the combined form fields.
Step 5
Connect your Zoho account with Leadsnotify by clicking on the Green button on the right hand side box. It will open a popup and ask your confirmation to allow Leadsnotify to get the required access to Transfer Facebook leads
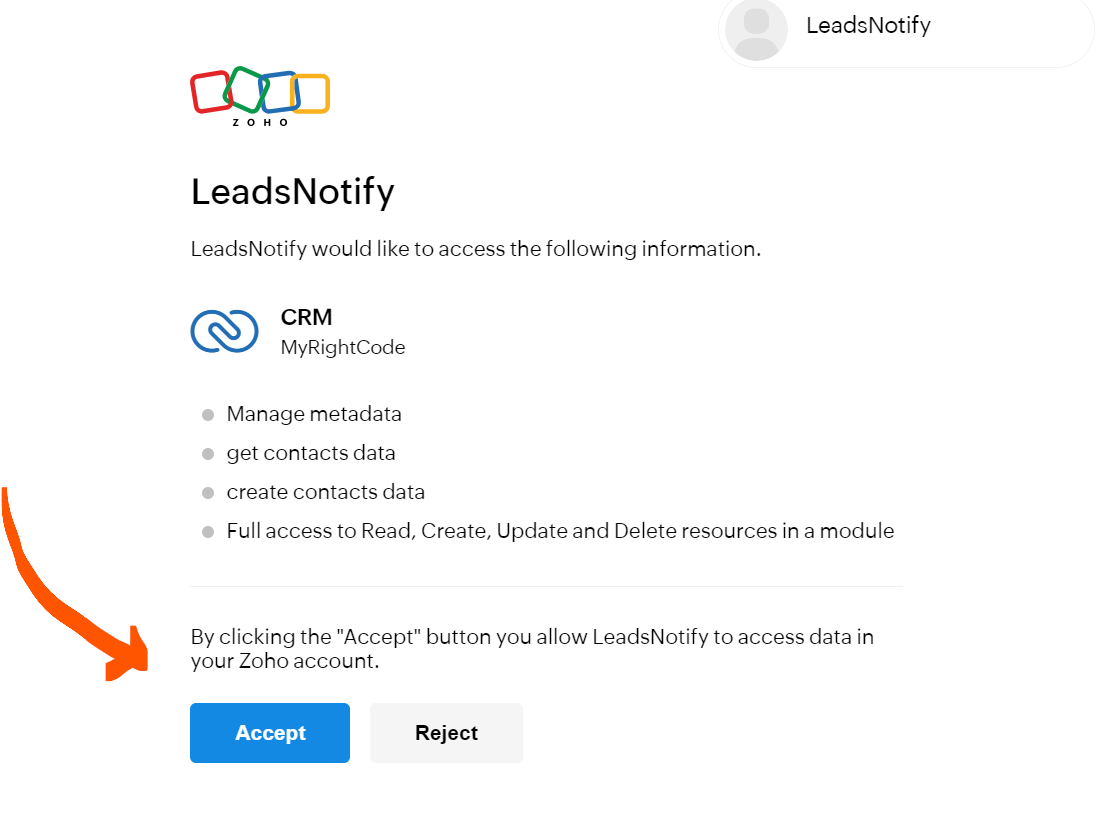
Click on Accept button and it will redirect back to Leadsnotify and starts showing the fields of your Zoho account. It will show you the custom fields as well so that you can easily map with your Facebook instant leads form leads.
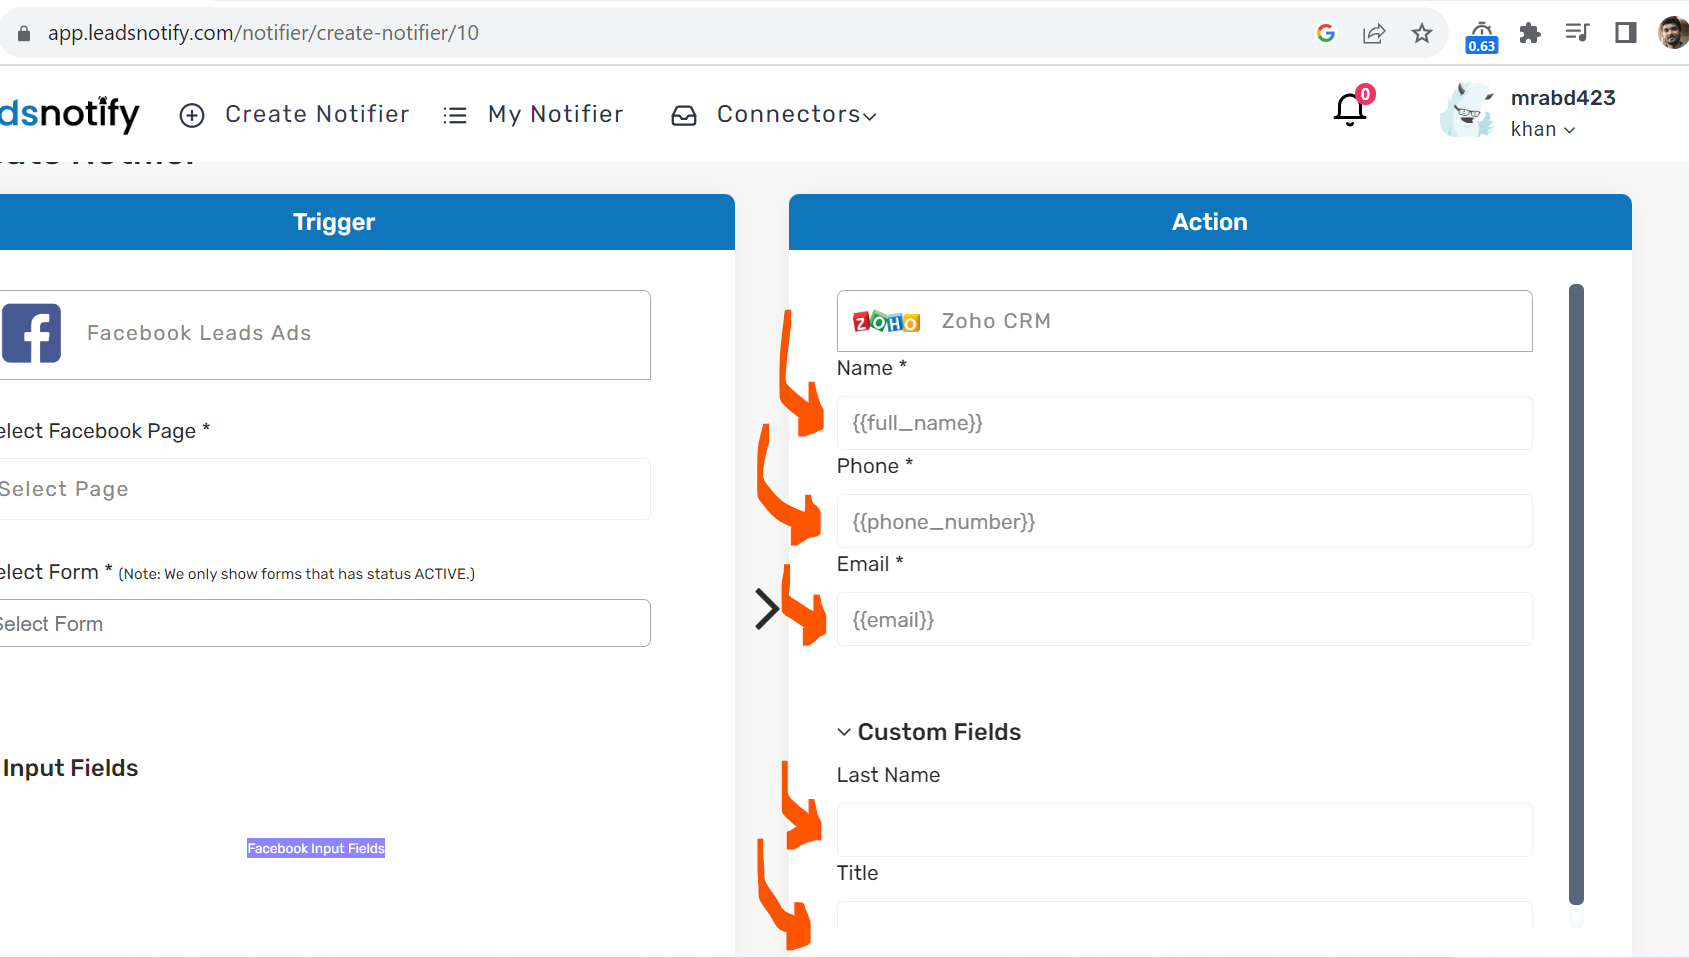
Once everything is mapped and filled. We will simple click on Save button.
Final Step
After we save the configuration popup will show and ask you to test it by sending a test lead. You will simple select the form and click on Send in few seconds you will be able to see the test lead inside your Zoho CRM account.
Last Updated on November 11, 2023 by ABD K